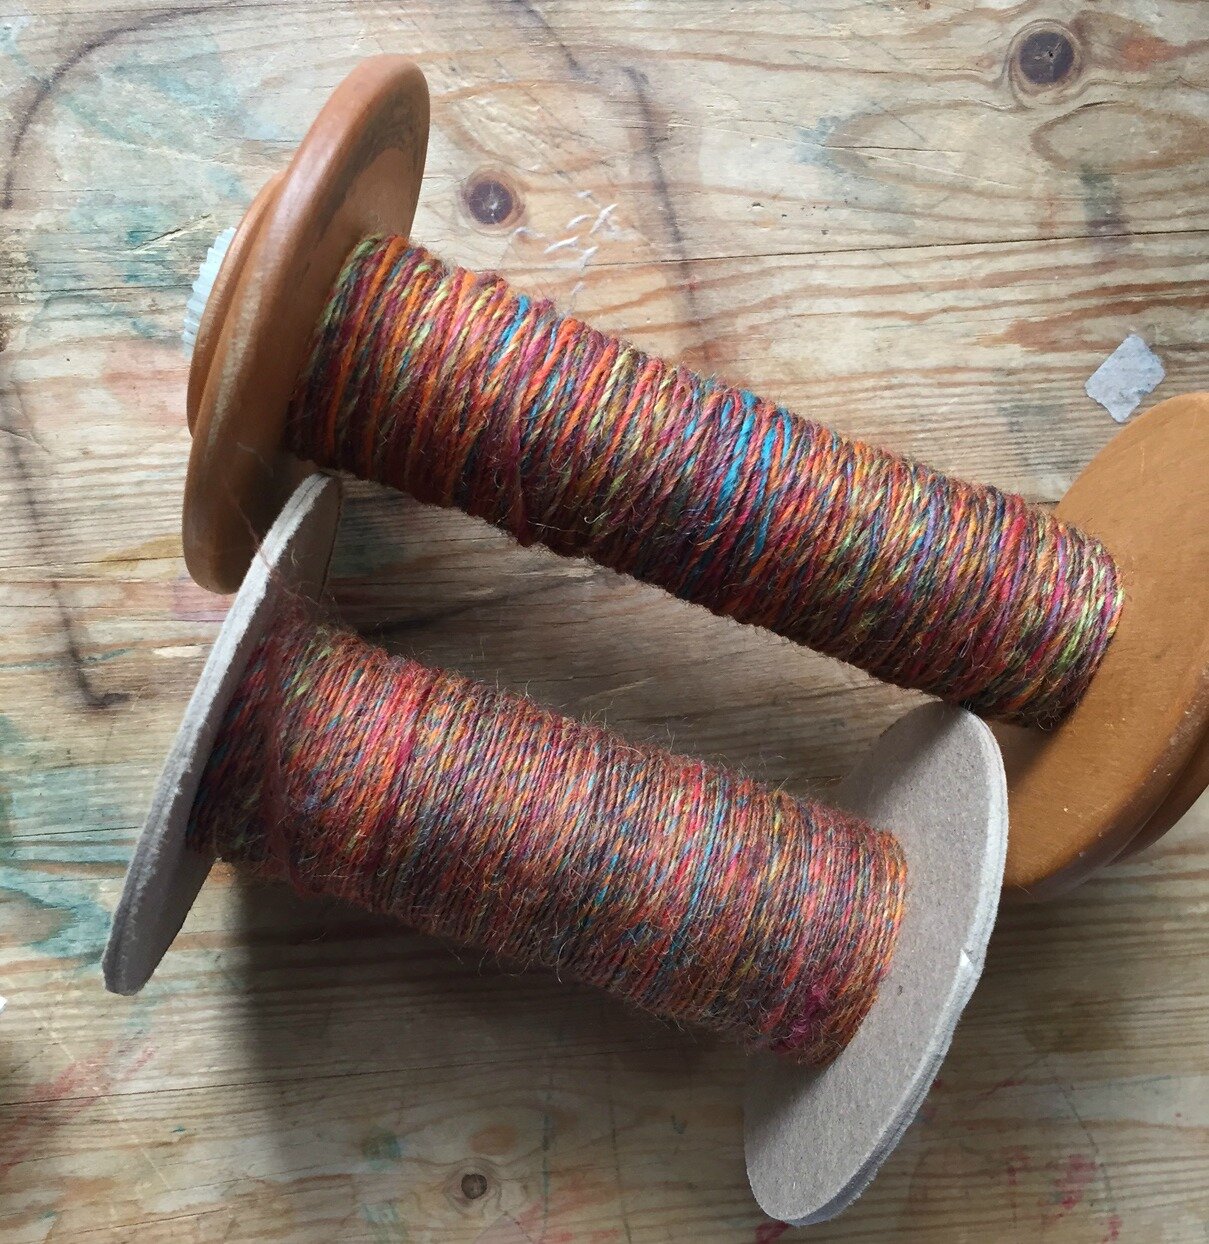
L to R: Singles, 2-ply, and 3ply
I knit all three of my yarns into three swatches, stockinette, lace, and a cable. I used the same needle size for each yarn, but not the same needle size accross the three yarns. I did not spin to match finished yarn sizes. Someone always asks.
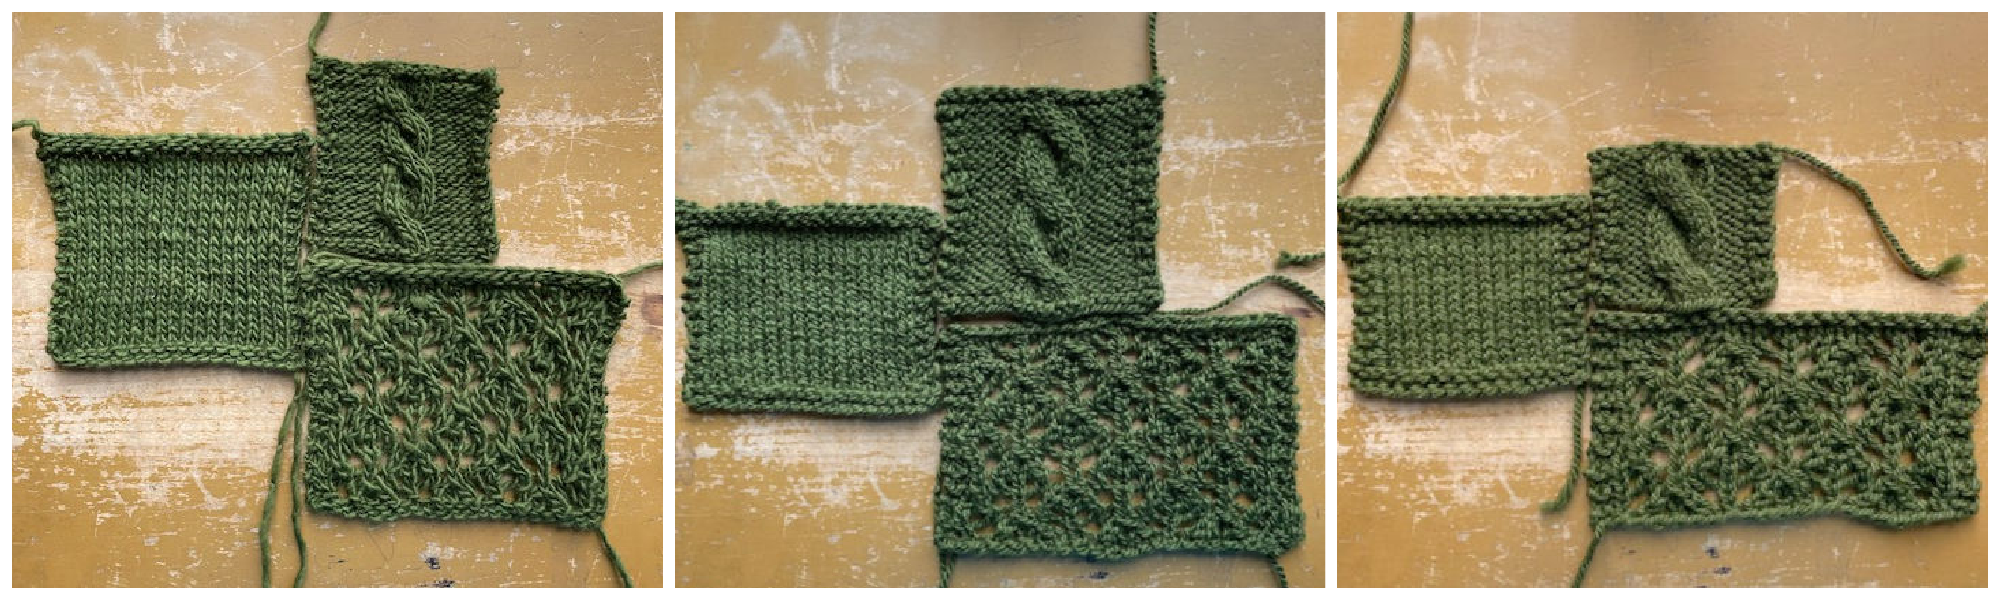
Looking at the swatches above where they are grouped by yarn, not stitch pattern, they look similar. Probably even similar enough to be interchangable. When I group my swatches by stitch pattern, something else happens I see variations that can make a difference to a project.
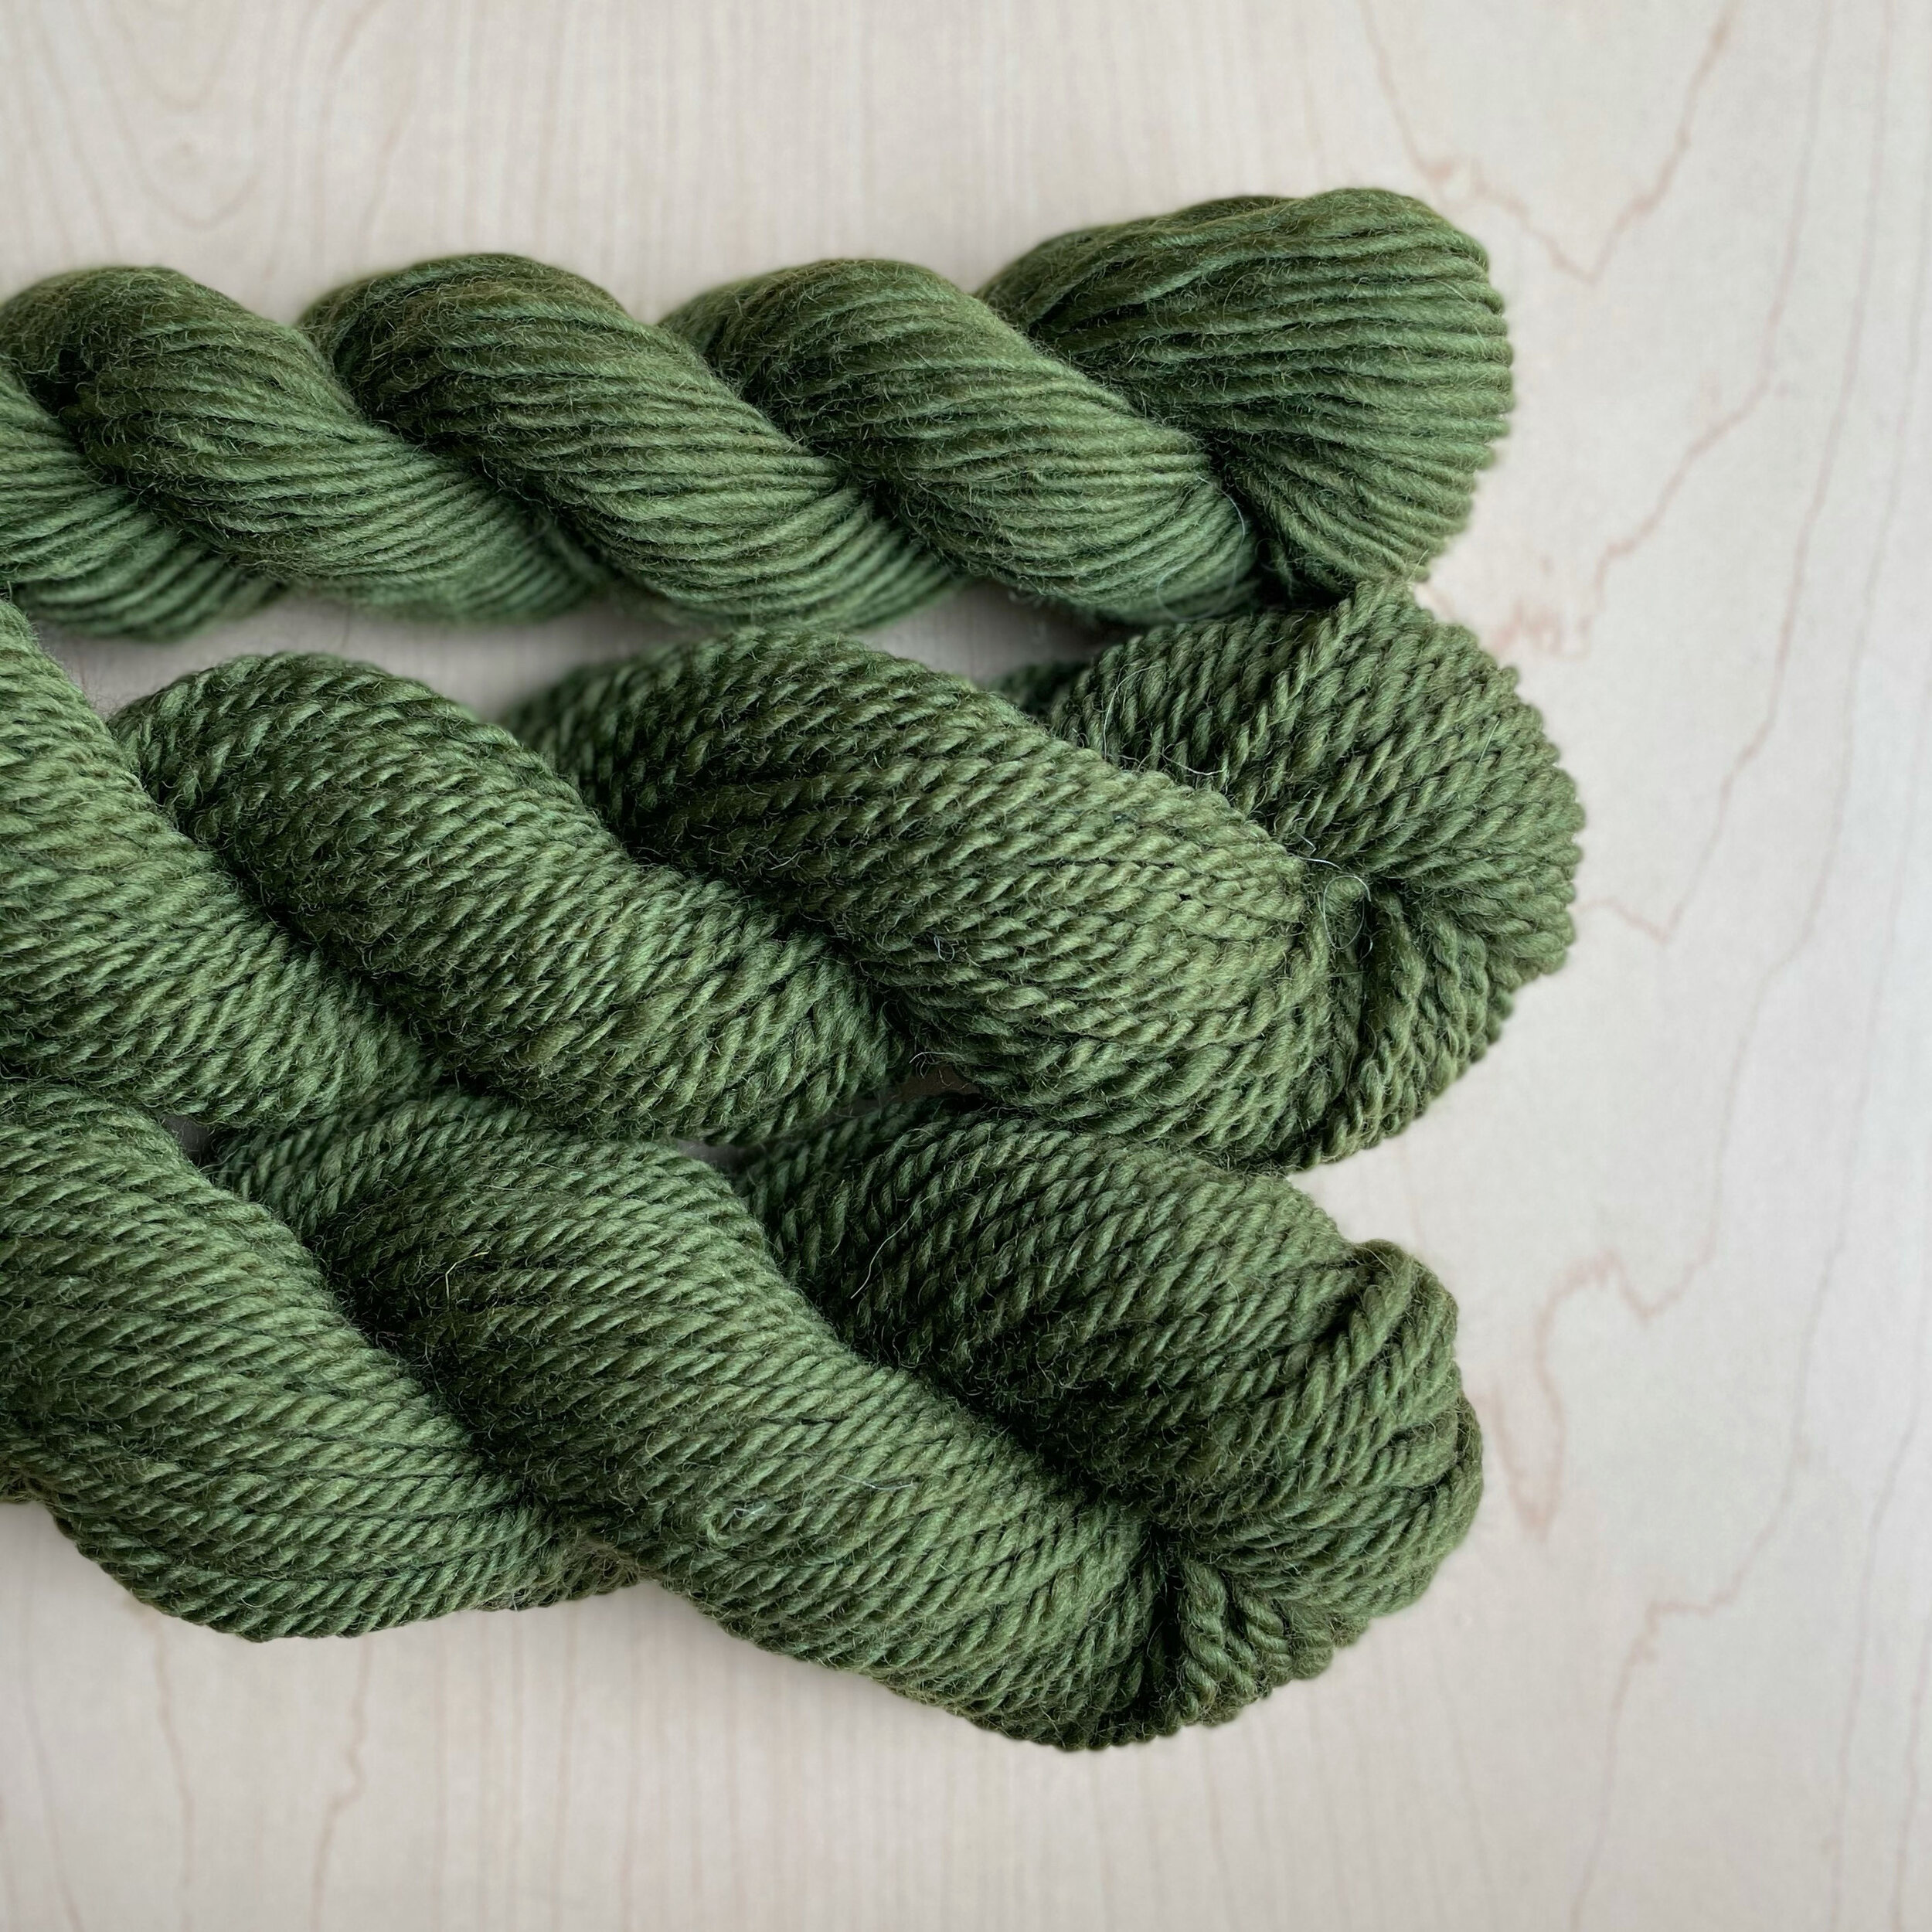
I’m sure you’ve heard and read that if you look at a yarn from the end with the aid of magnification, the different plies have different shapes and behave differently. Singles are round-ish, and soft. 2-ply yarns are oval shaped and the plies tend to open, roll apart, and flatten. 3-ply yarns are round, push together and up.
L to R: Singles, top - 2-ply, and bottom -3ply
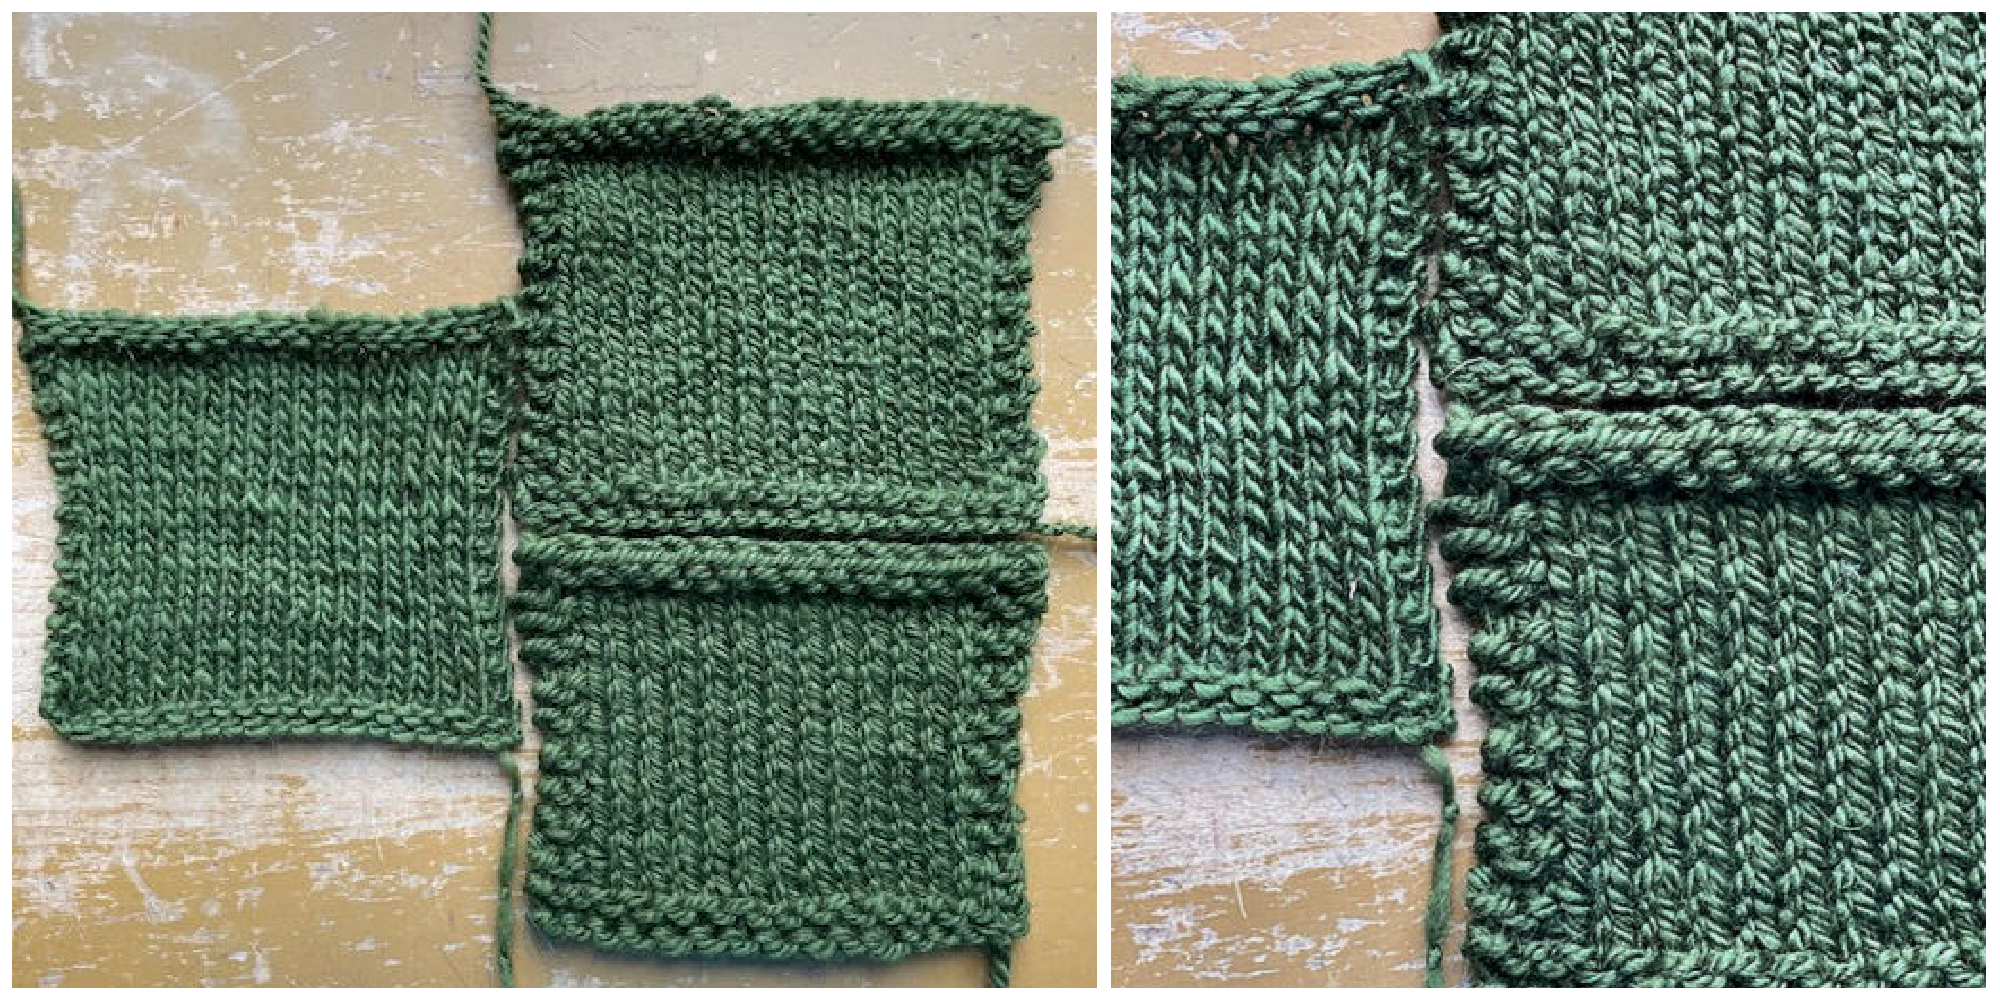
My singles stockinette swatch (left), has pretty good stitch definition, I can easily count stitches, and they look soft not crisp. To me the 2-ply (top right) and 3-ply (bottom right) look very different. The surface of the 2-ply is very visually busy, and the individual stitches are harder to see, that’s those plies pushing apart. The 3-ply stitches have crisp edges and the stitches and rows line up in straight lines. I like texture and visual motion in my knitting and this explains to me why I’m always reaching for a 2-ply yarn for stockinette projects.

L to R: Singles, top - 2-ply, and bottom -3ply
My singles lace swatch (left), shows the lace pattern evenly, and holds a block well. I always like how light lace knit from singles is too. The 2-ply (top right) and 3-ply (bottom right) have different qualities. They are not bad or good, I just choose what I like for a particular project.
The rolling away quality that made the 2-ply stockinette swatch look busy, keeps lace patterns open, and helps the stitch pattern look balanced. The crispness along with rolling together, and pushing up of a 3-ply yarn makes lace look like it could be a alternate stitch pattern. It’s not, all three swatches are English Mesh.
When I look at lace knit from a 3-ply yarn, my eye goes right to the decreases, they really stack up and the holes are rolling closed.. The lace pattern is not as uniform as the 2-ply swatch. To my eye it looks like a more complex stitch pattern, like a combination of lace and cable that I’ve seen in Japanese stitch pattern books.

L to R: Singles, top - 2-ply, and bottom -3ply
Texture and cable patterns are all about lift and clear edges. My singles cable swatch (left) doesn’t have much lift and the edges are very soft, the cable is more of a surface pattern. The 2-ply (top right) gets a little higher, but notice the blurriness of stitches in the stockinette part of the cable, that makes it look kind of soft.
The 3-ply swatch (bottom right) is the cable champion here. The stitches have edges, the cable looks carved, and really stands up off of the background.
I hope you found some interesting things in your swatches, and I hope this Sample Along helped to shine a light on some knitting mysteries too.
We’ll be doing another Sample Along, as soon as my Patrons choose a new topic!