spinning

Reusing Spools

spool reuse.jpg

I posted a photo on Instagram of new-to-me Anchor embroidery floss that comes on spools like sewing thread.

I got a comment about single use plastic. It's true! Thank you to the person who commented. These are made to be tossed, more plastic in the world.

What I didn't say in the post was one of the reasons I'm excited is to reuse the spools after they are empty for other threads and things.

I don't do well with the flat cardboard cards, they tend to unravel for me unless I pack them tightly together in a box.

Here's what I'll use these empty spools for:

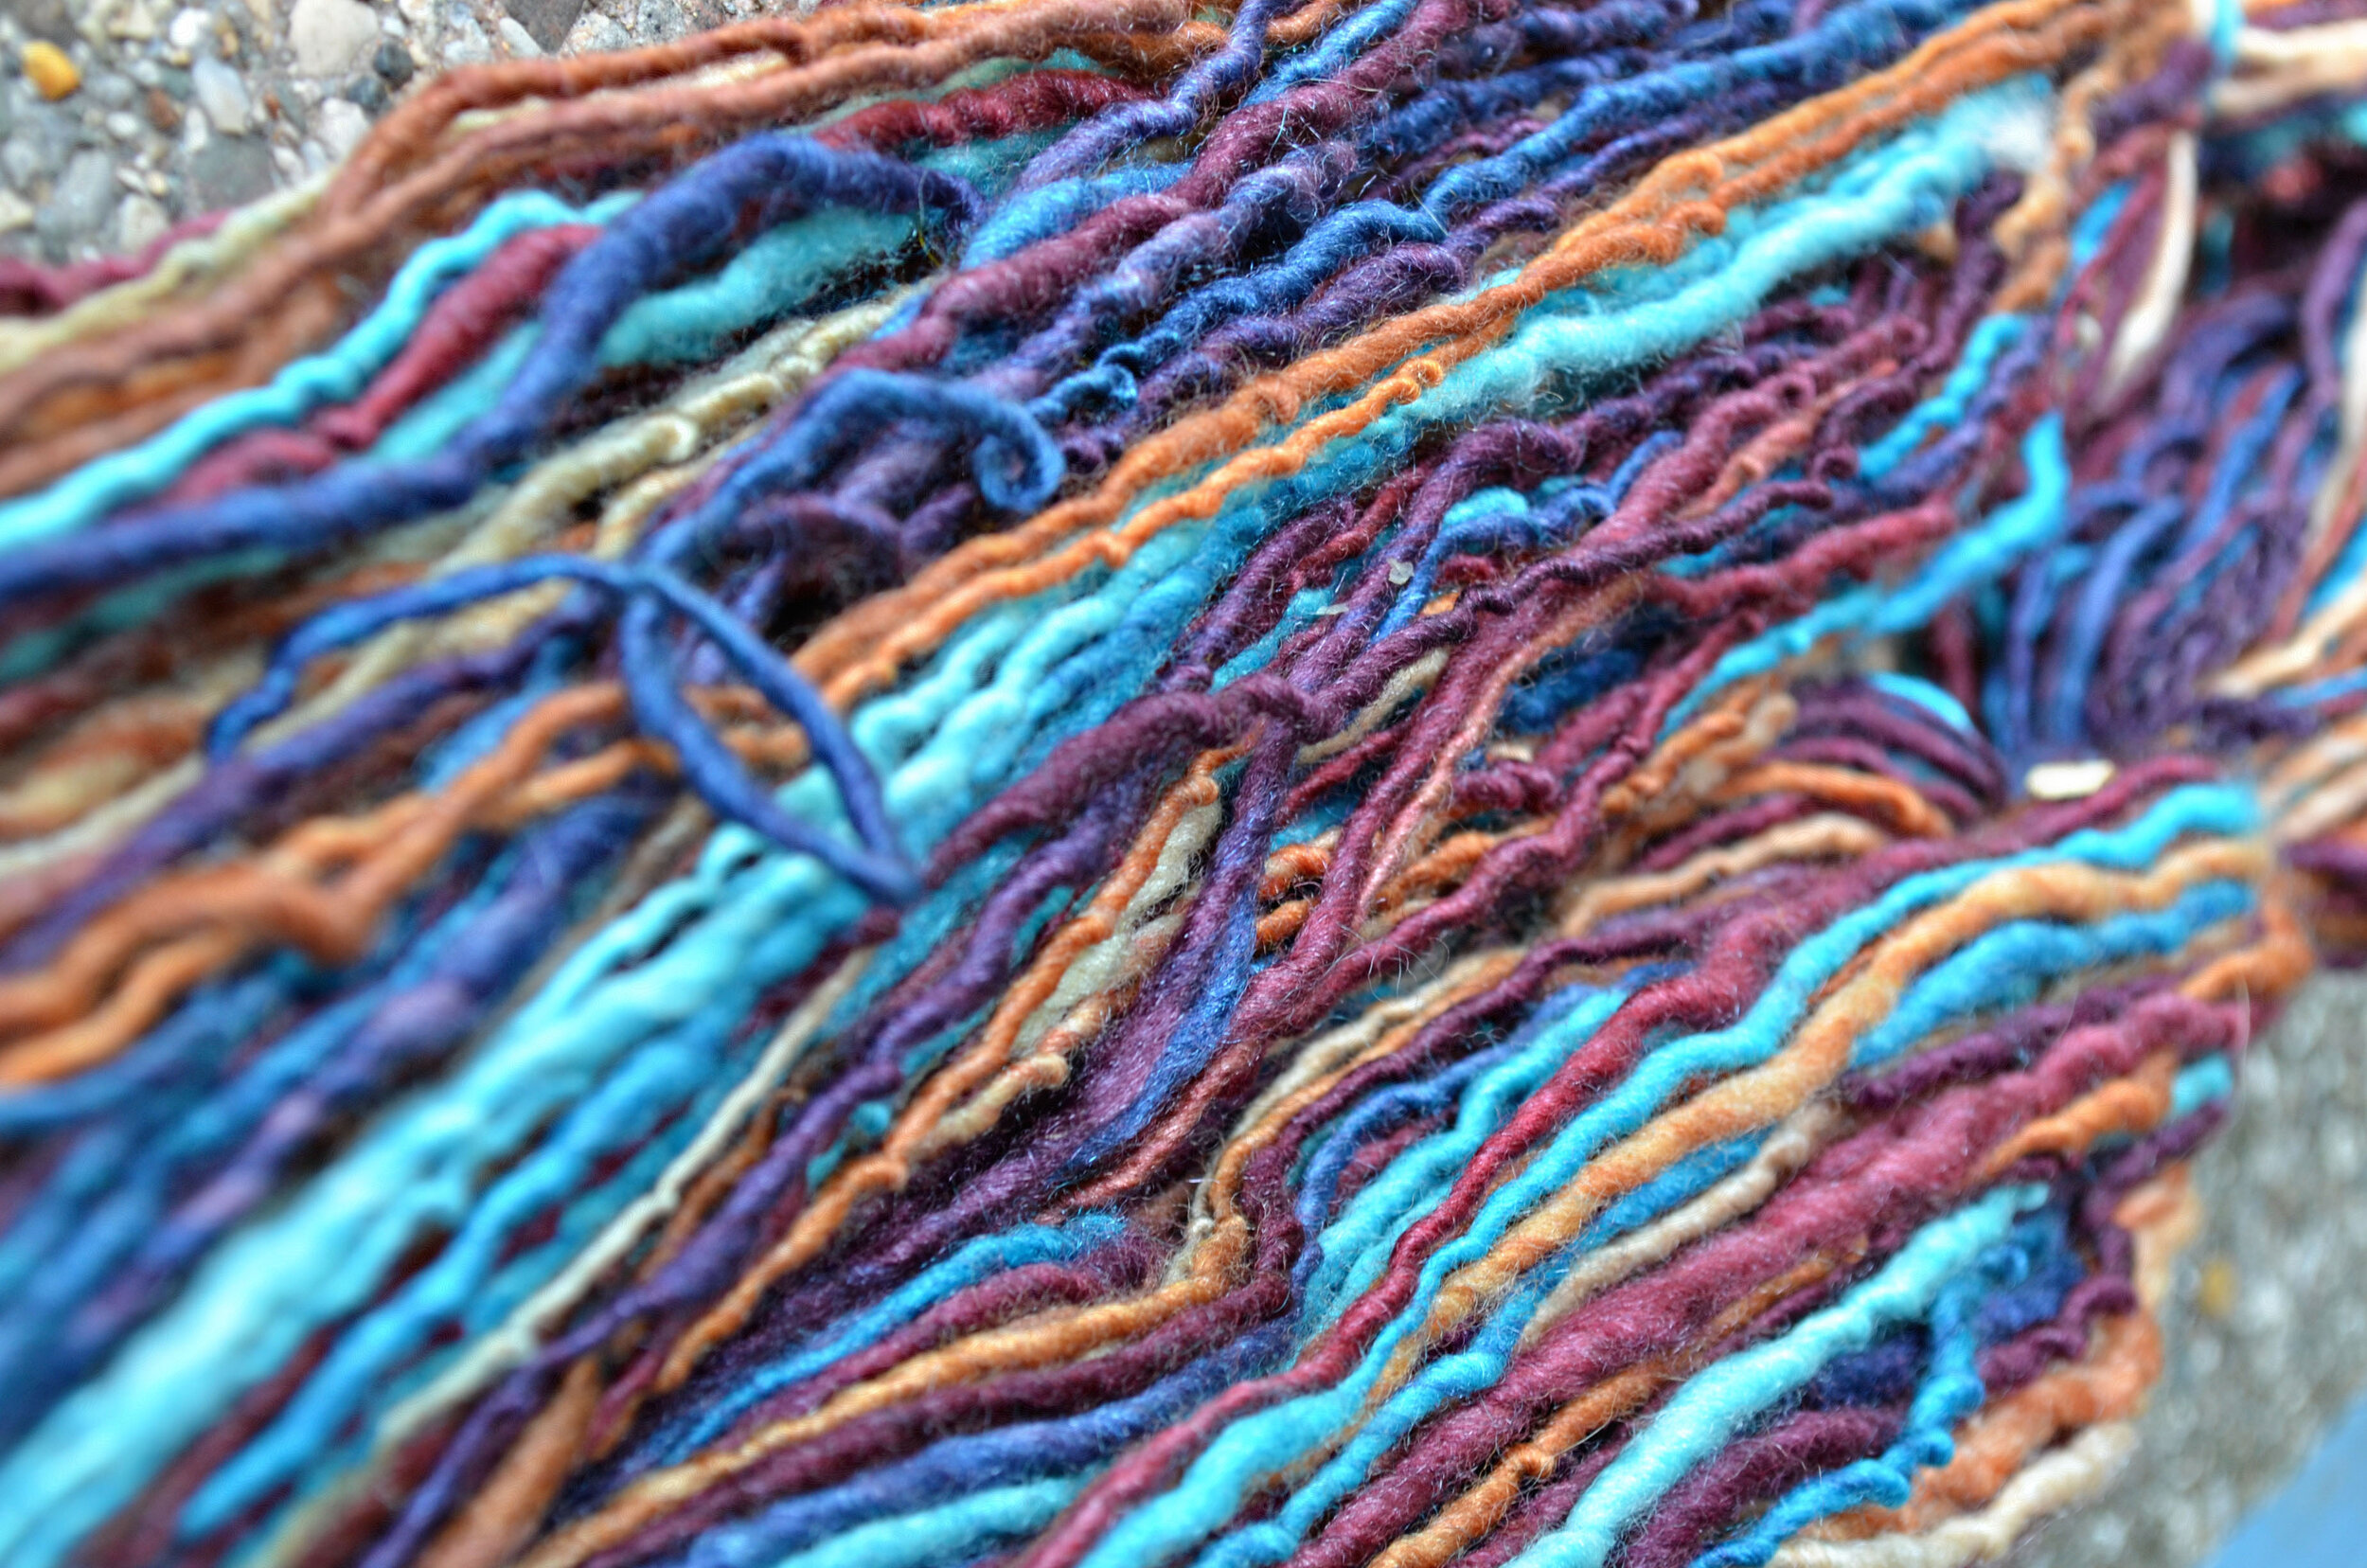
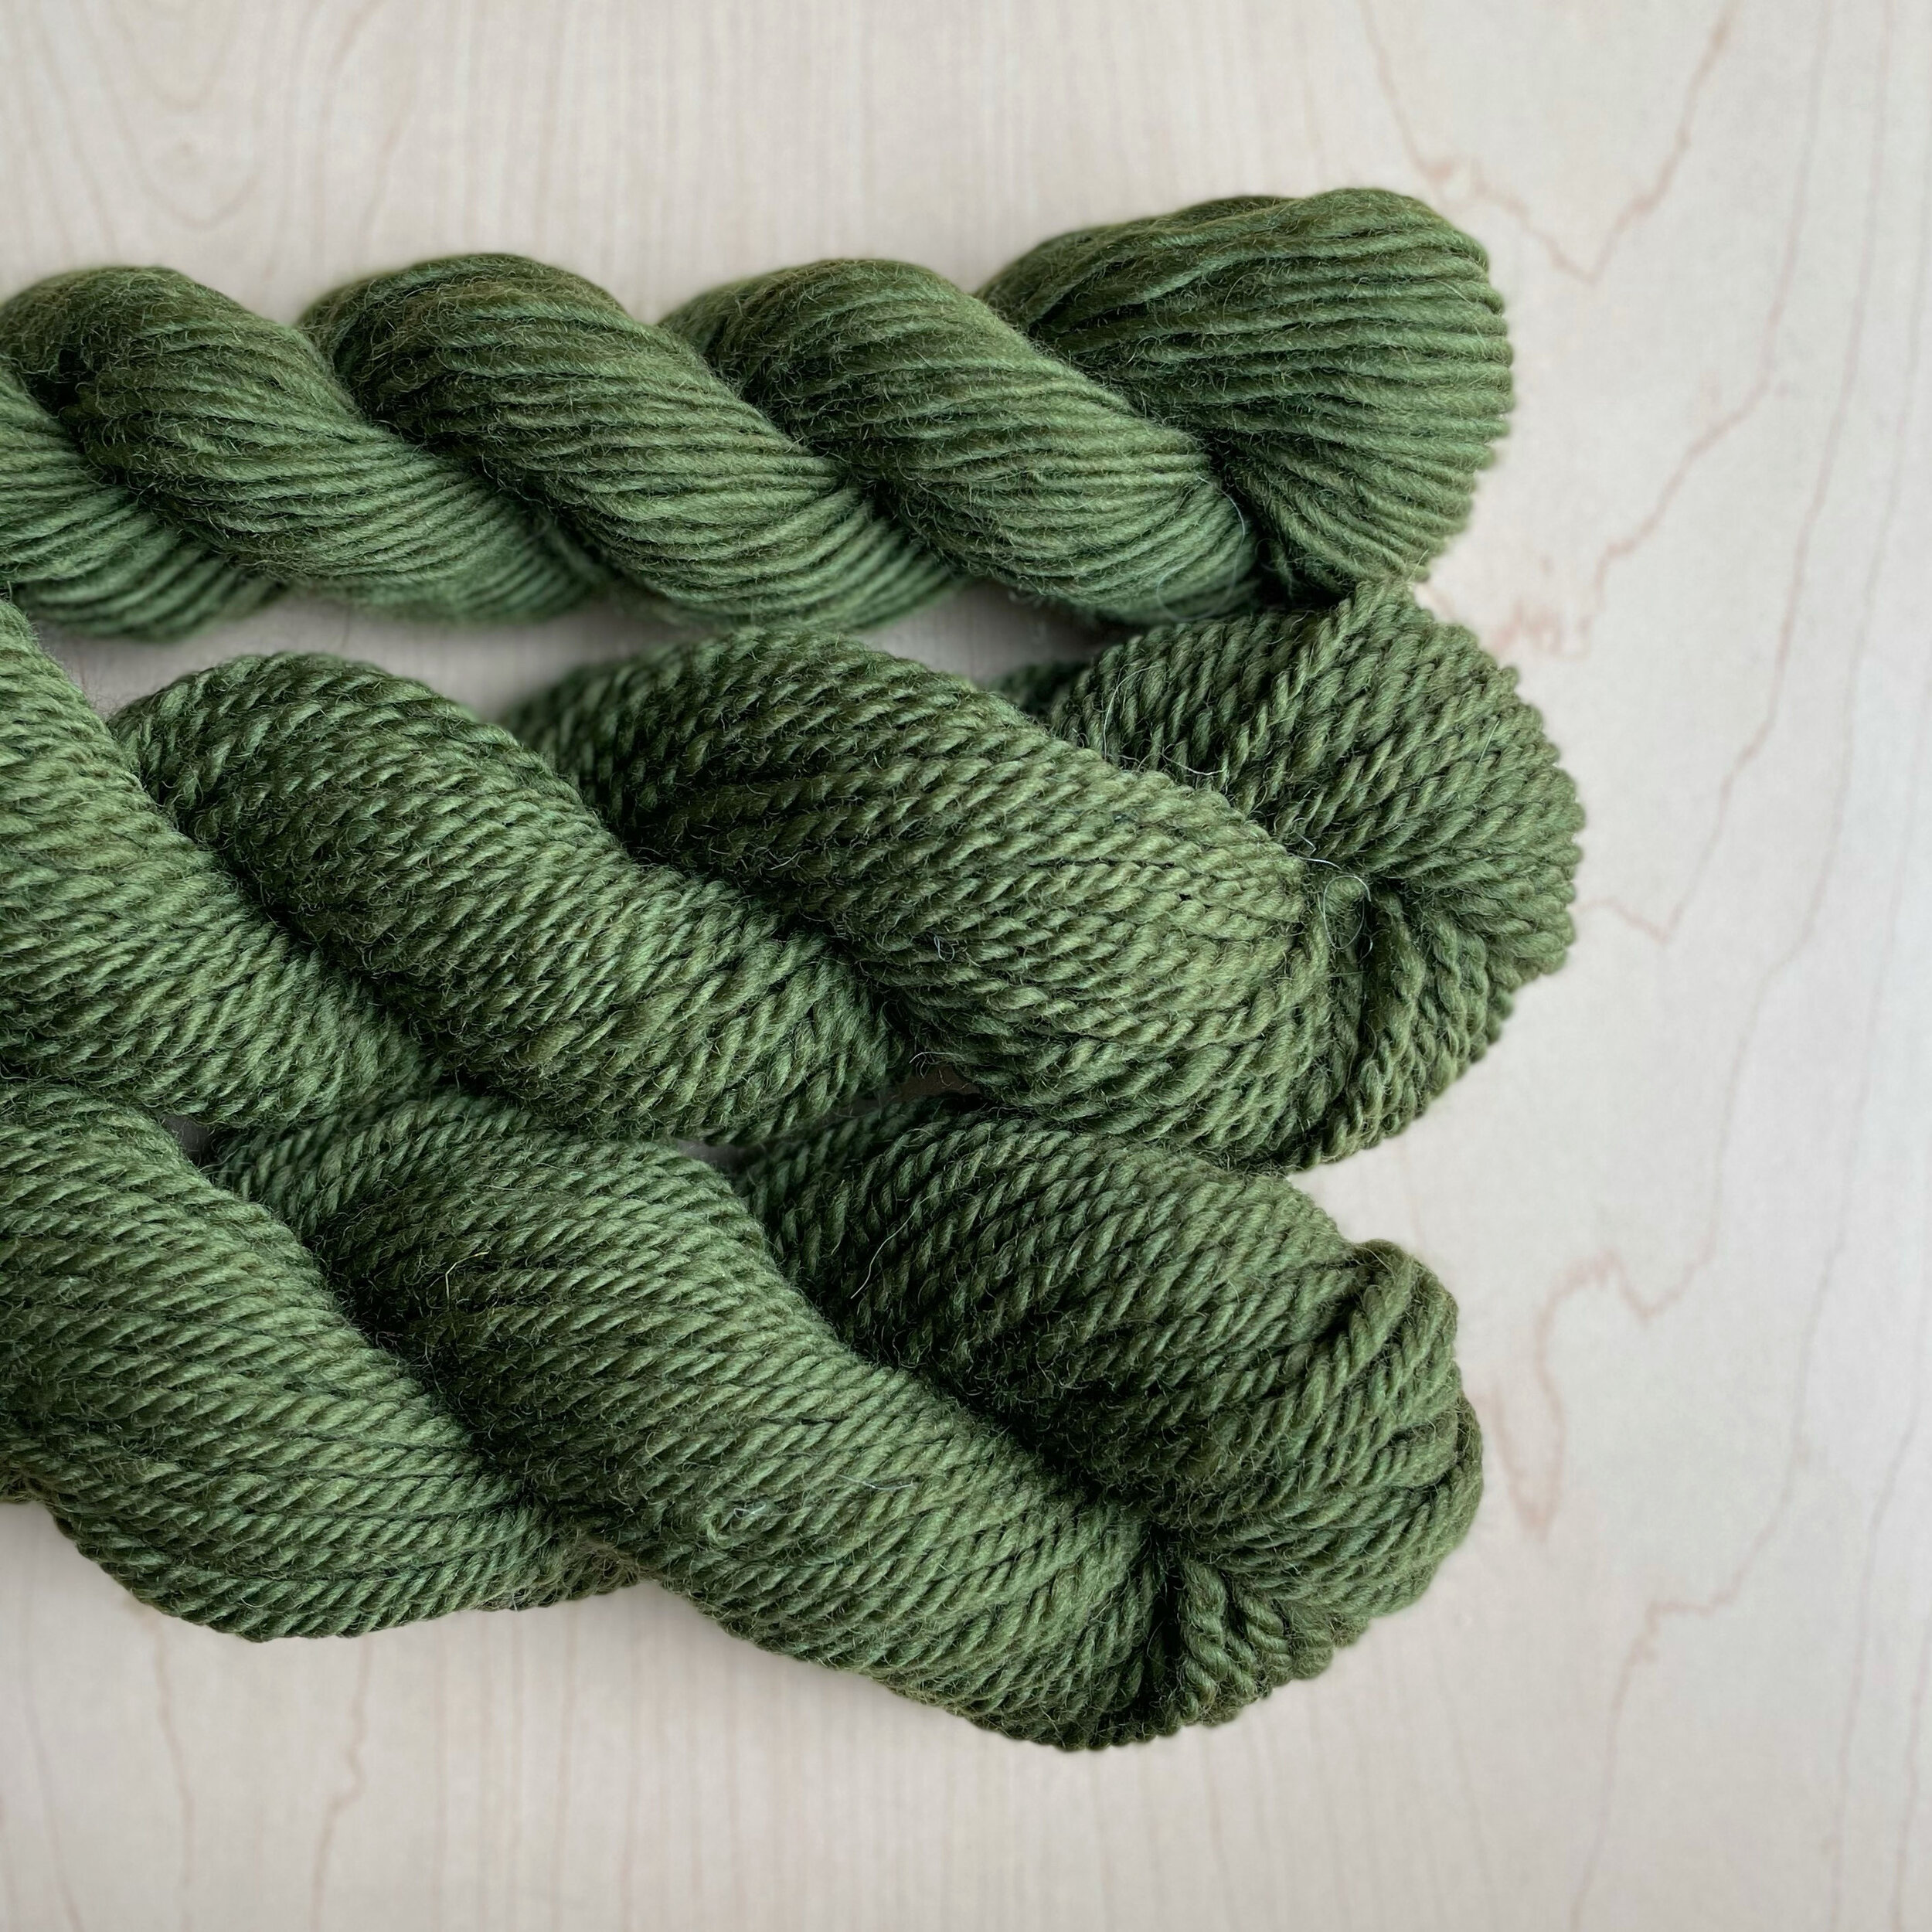
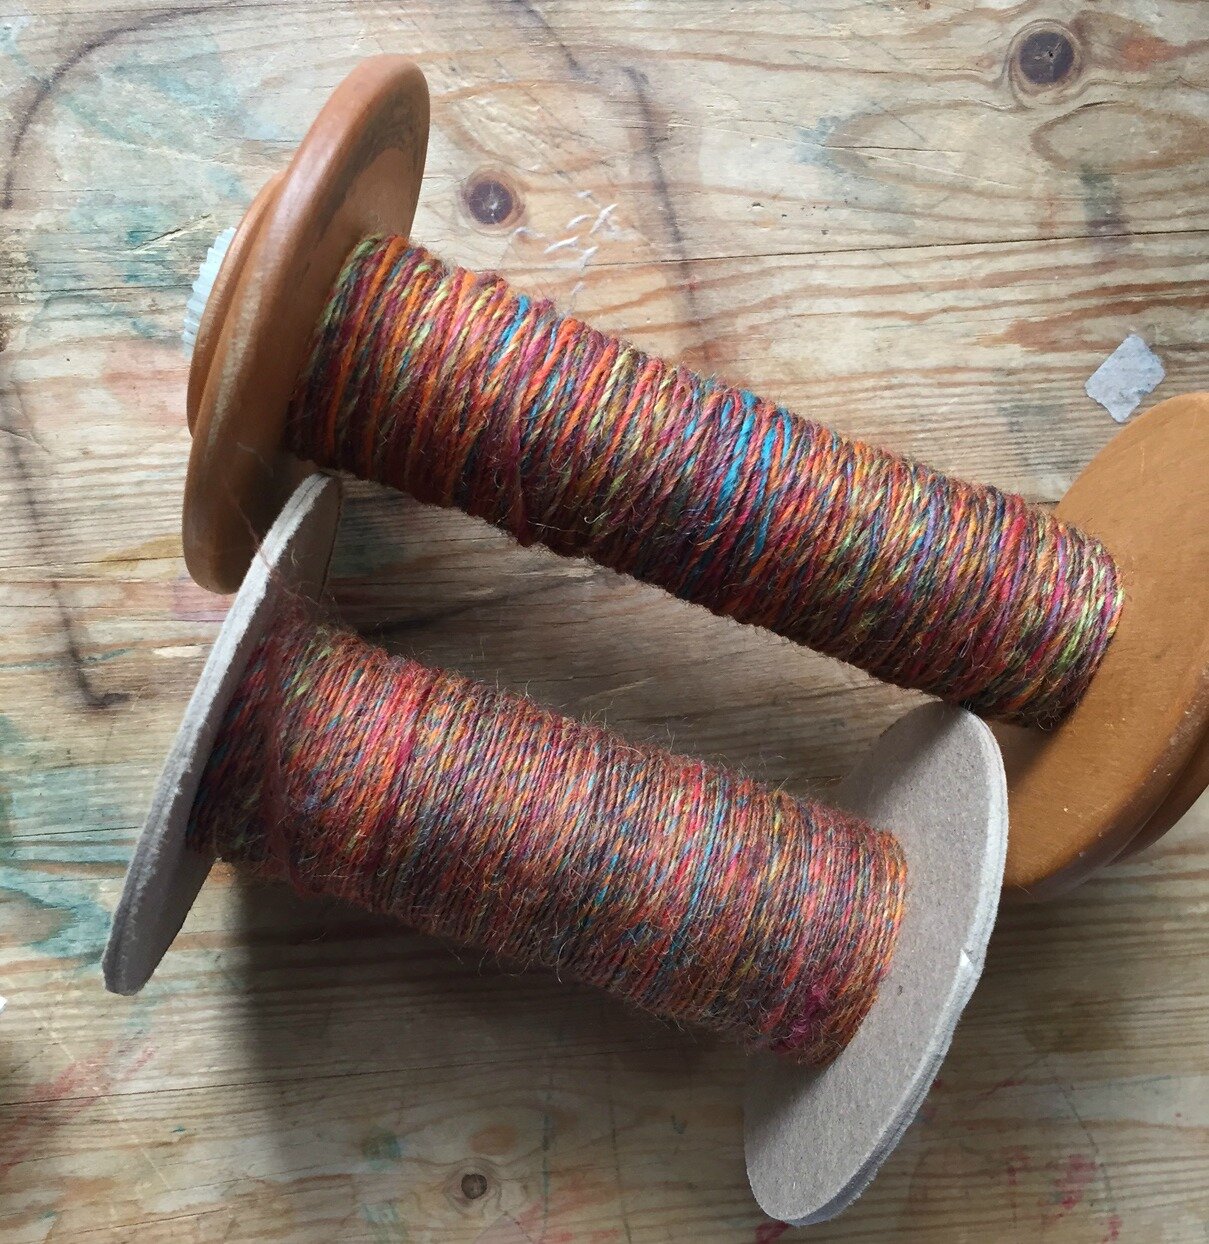
I like to blend colors for stitching, one or two strands of one color and one or two of another or one each of three colors.

In the past I've done done the combining a little at a time. With the spool I'll be able to do put together longer or multiple 18" lengths all wrapped onto the spool, more continuous stitching time.

I do the same type of combining with textures, matte and sparkly, matte and shiny, silk and matte. It gives such interesting quality of line.

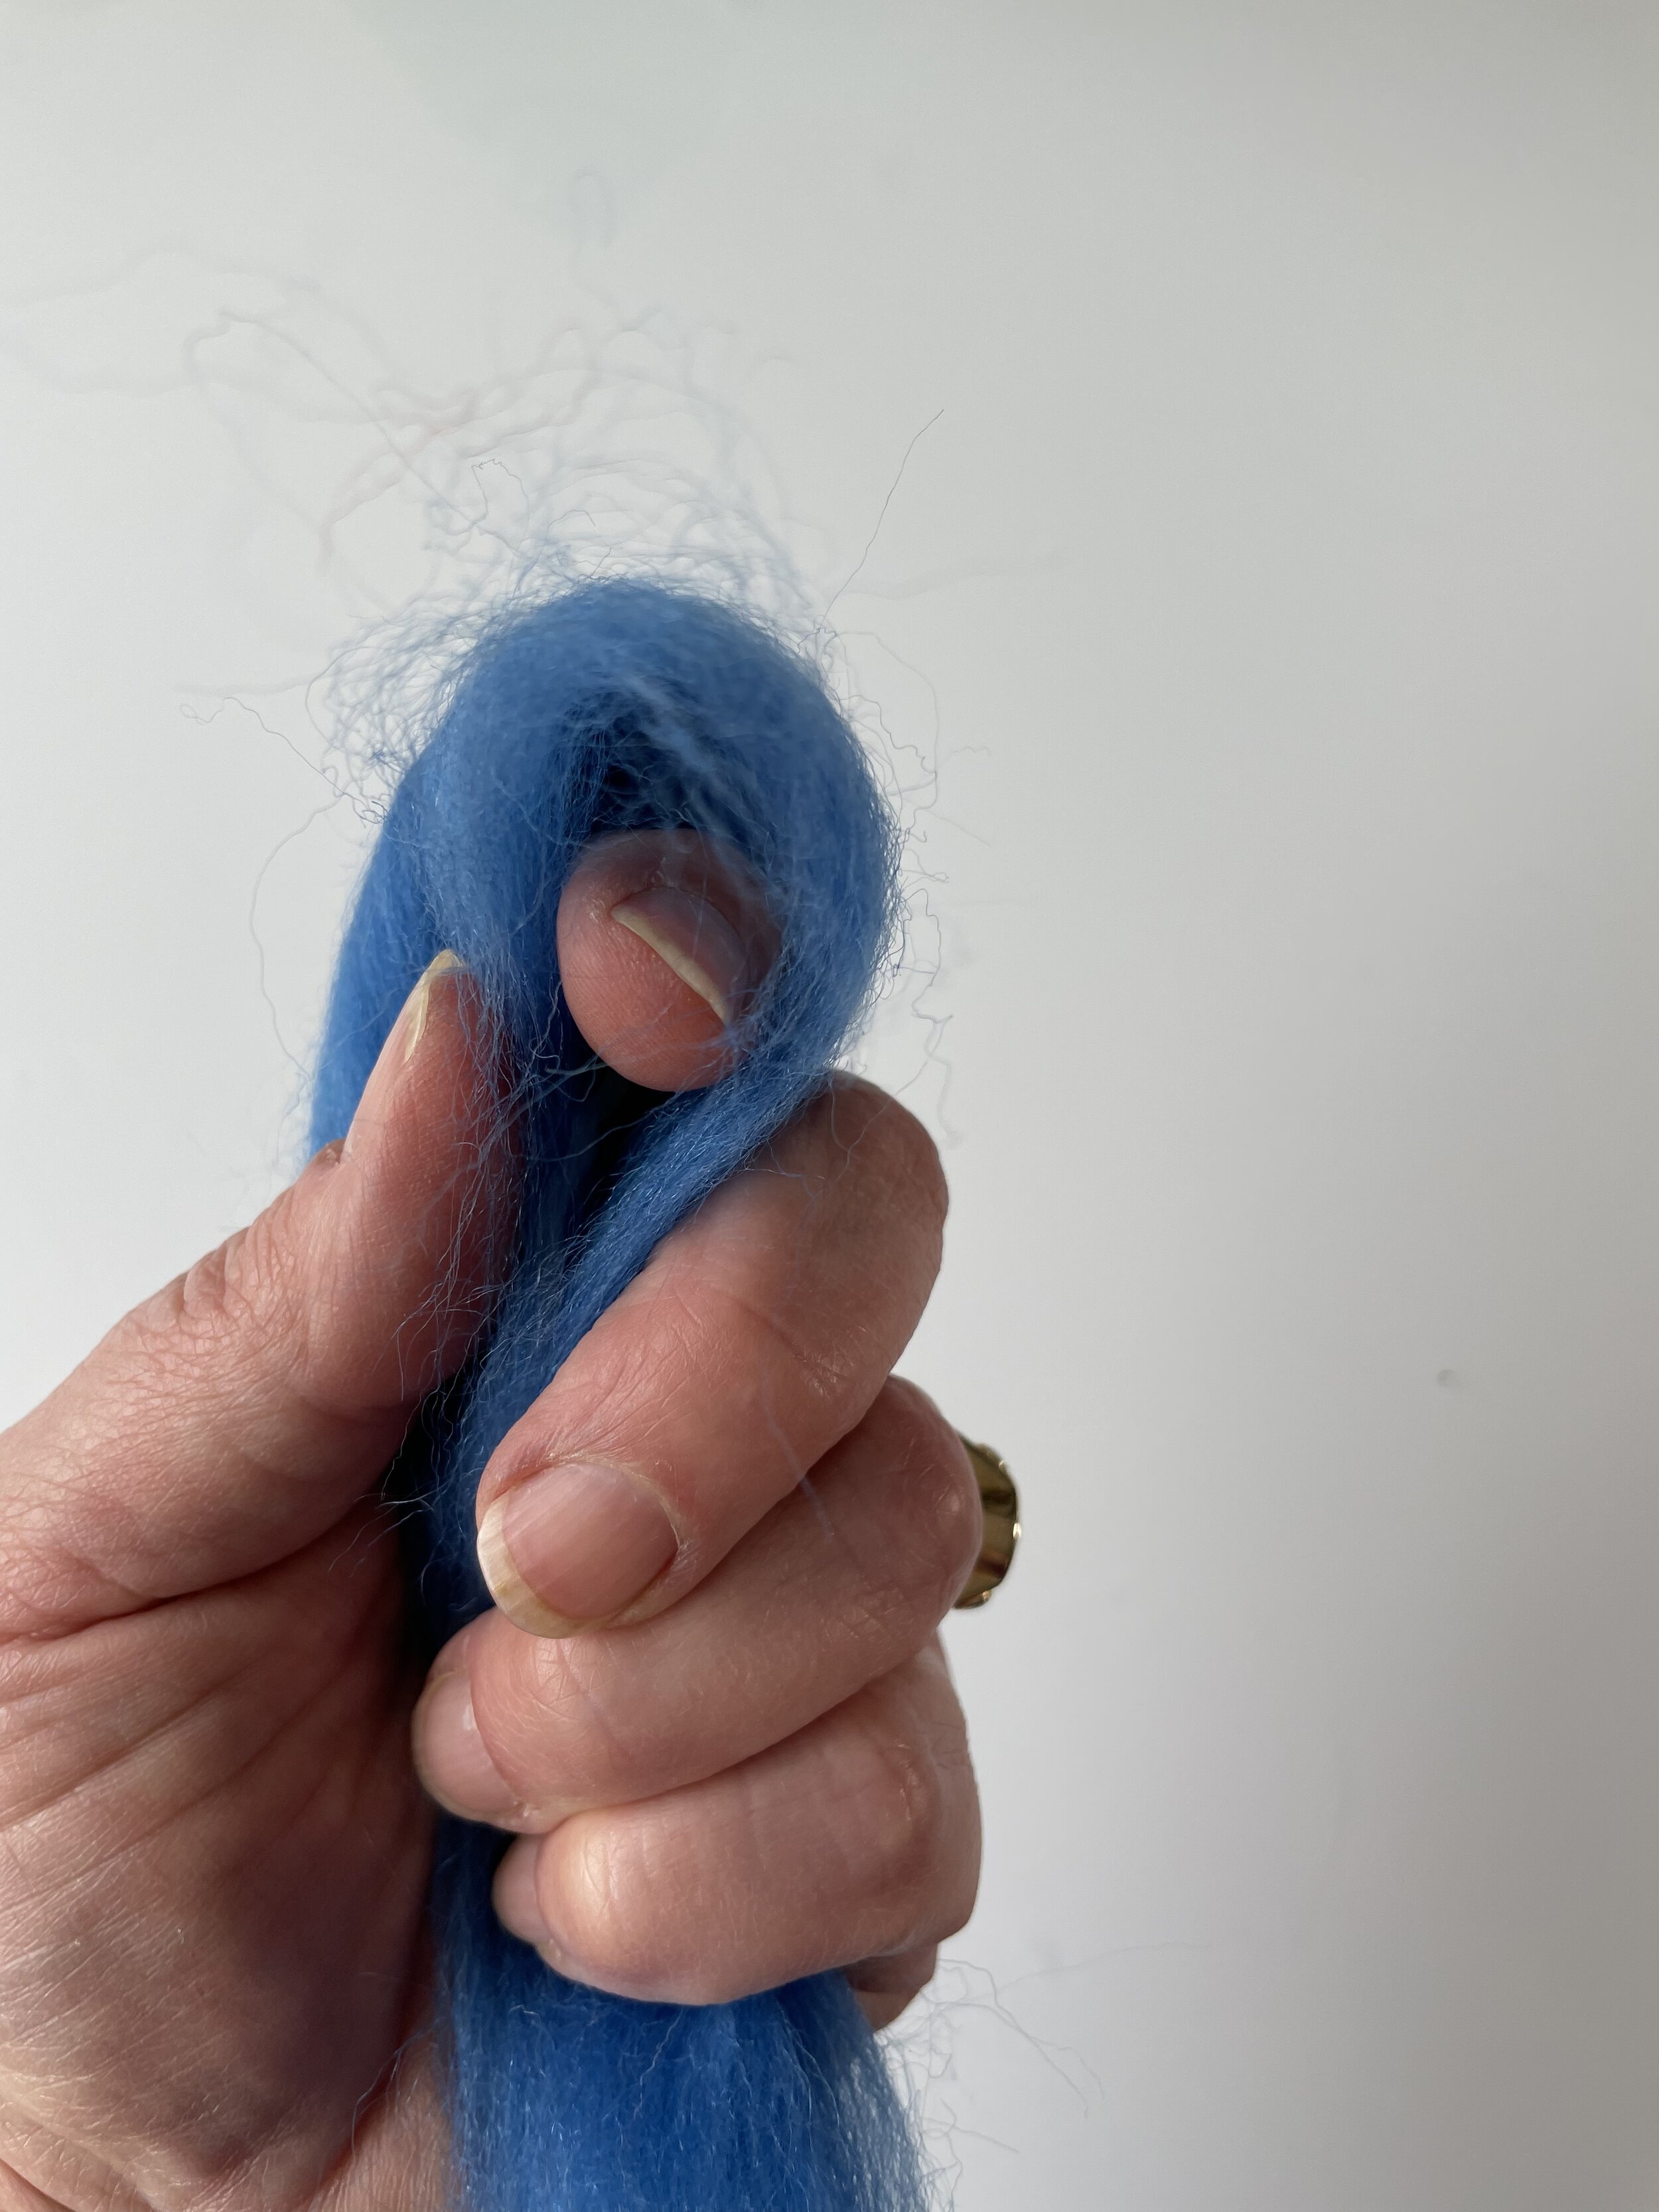
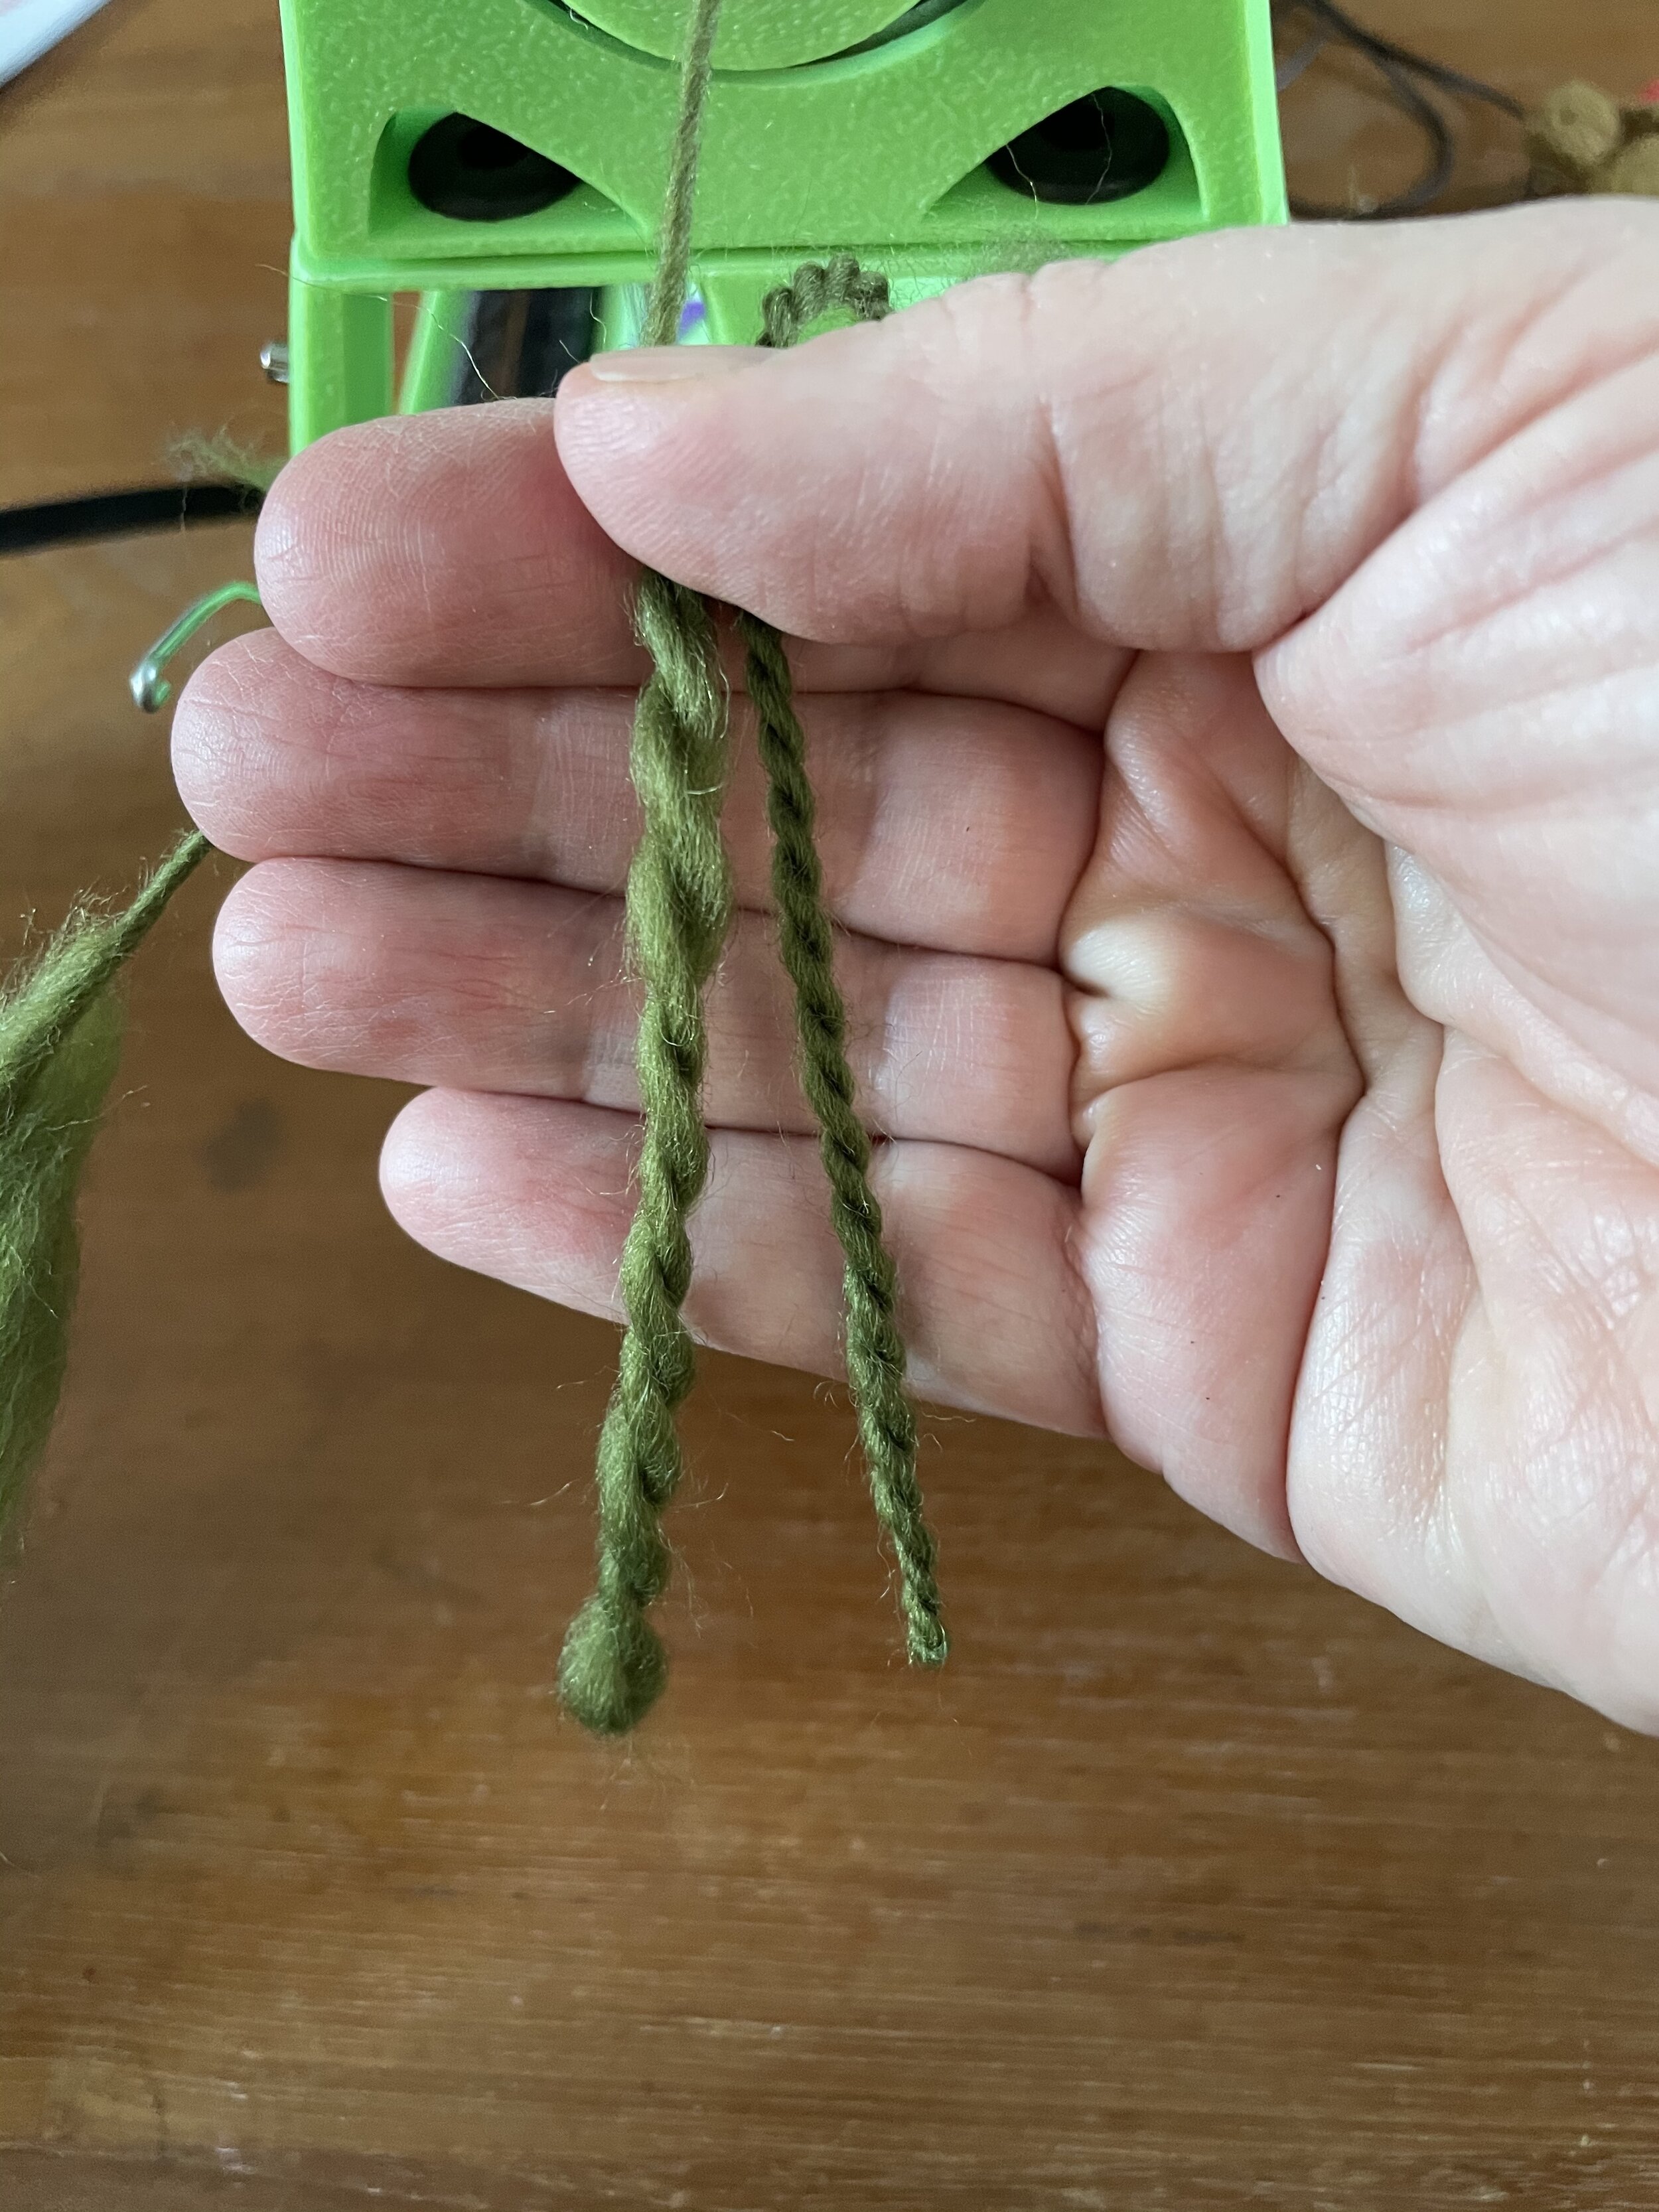
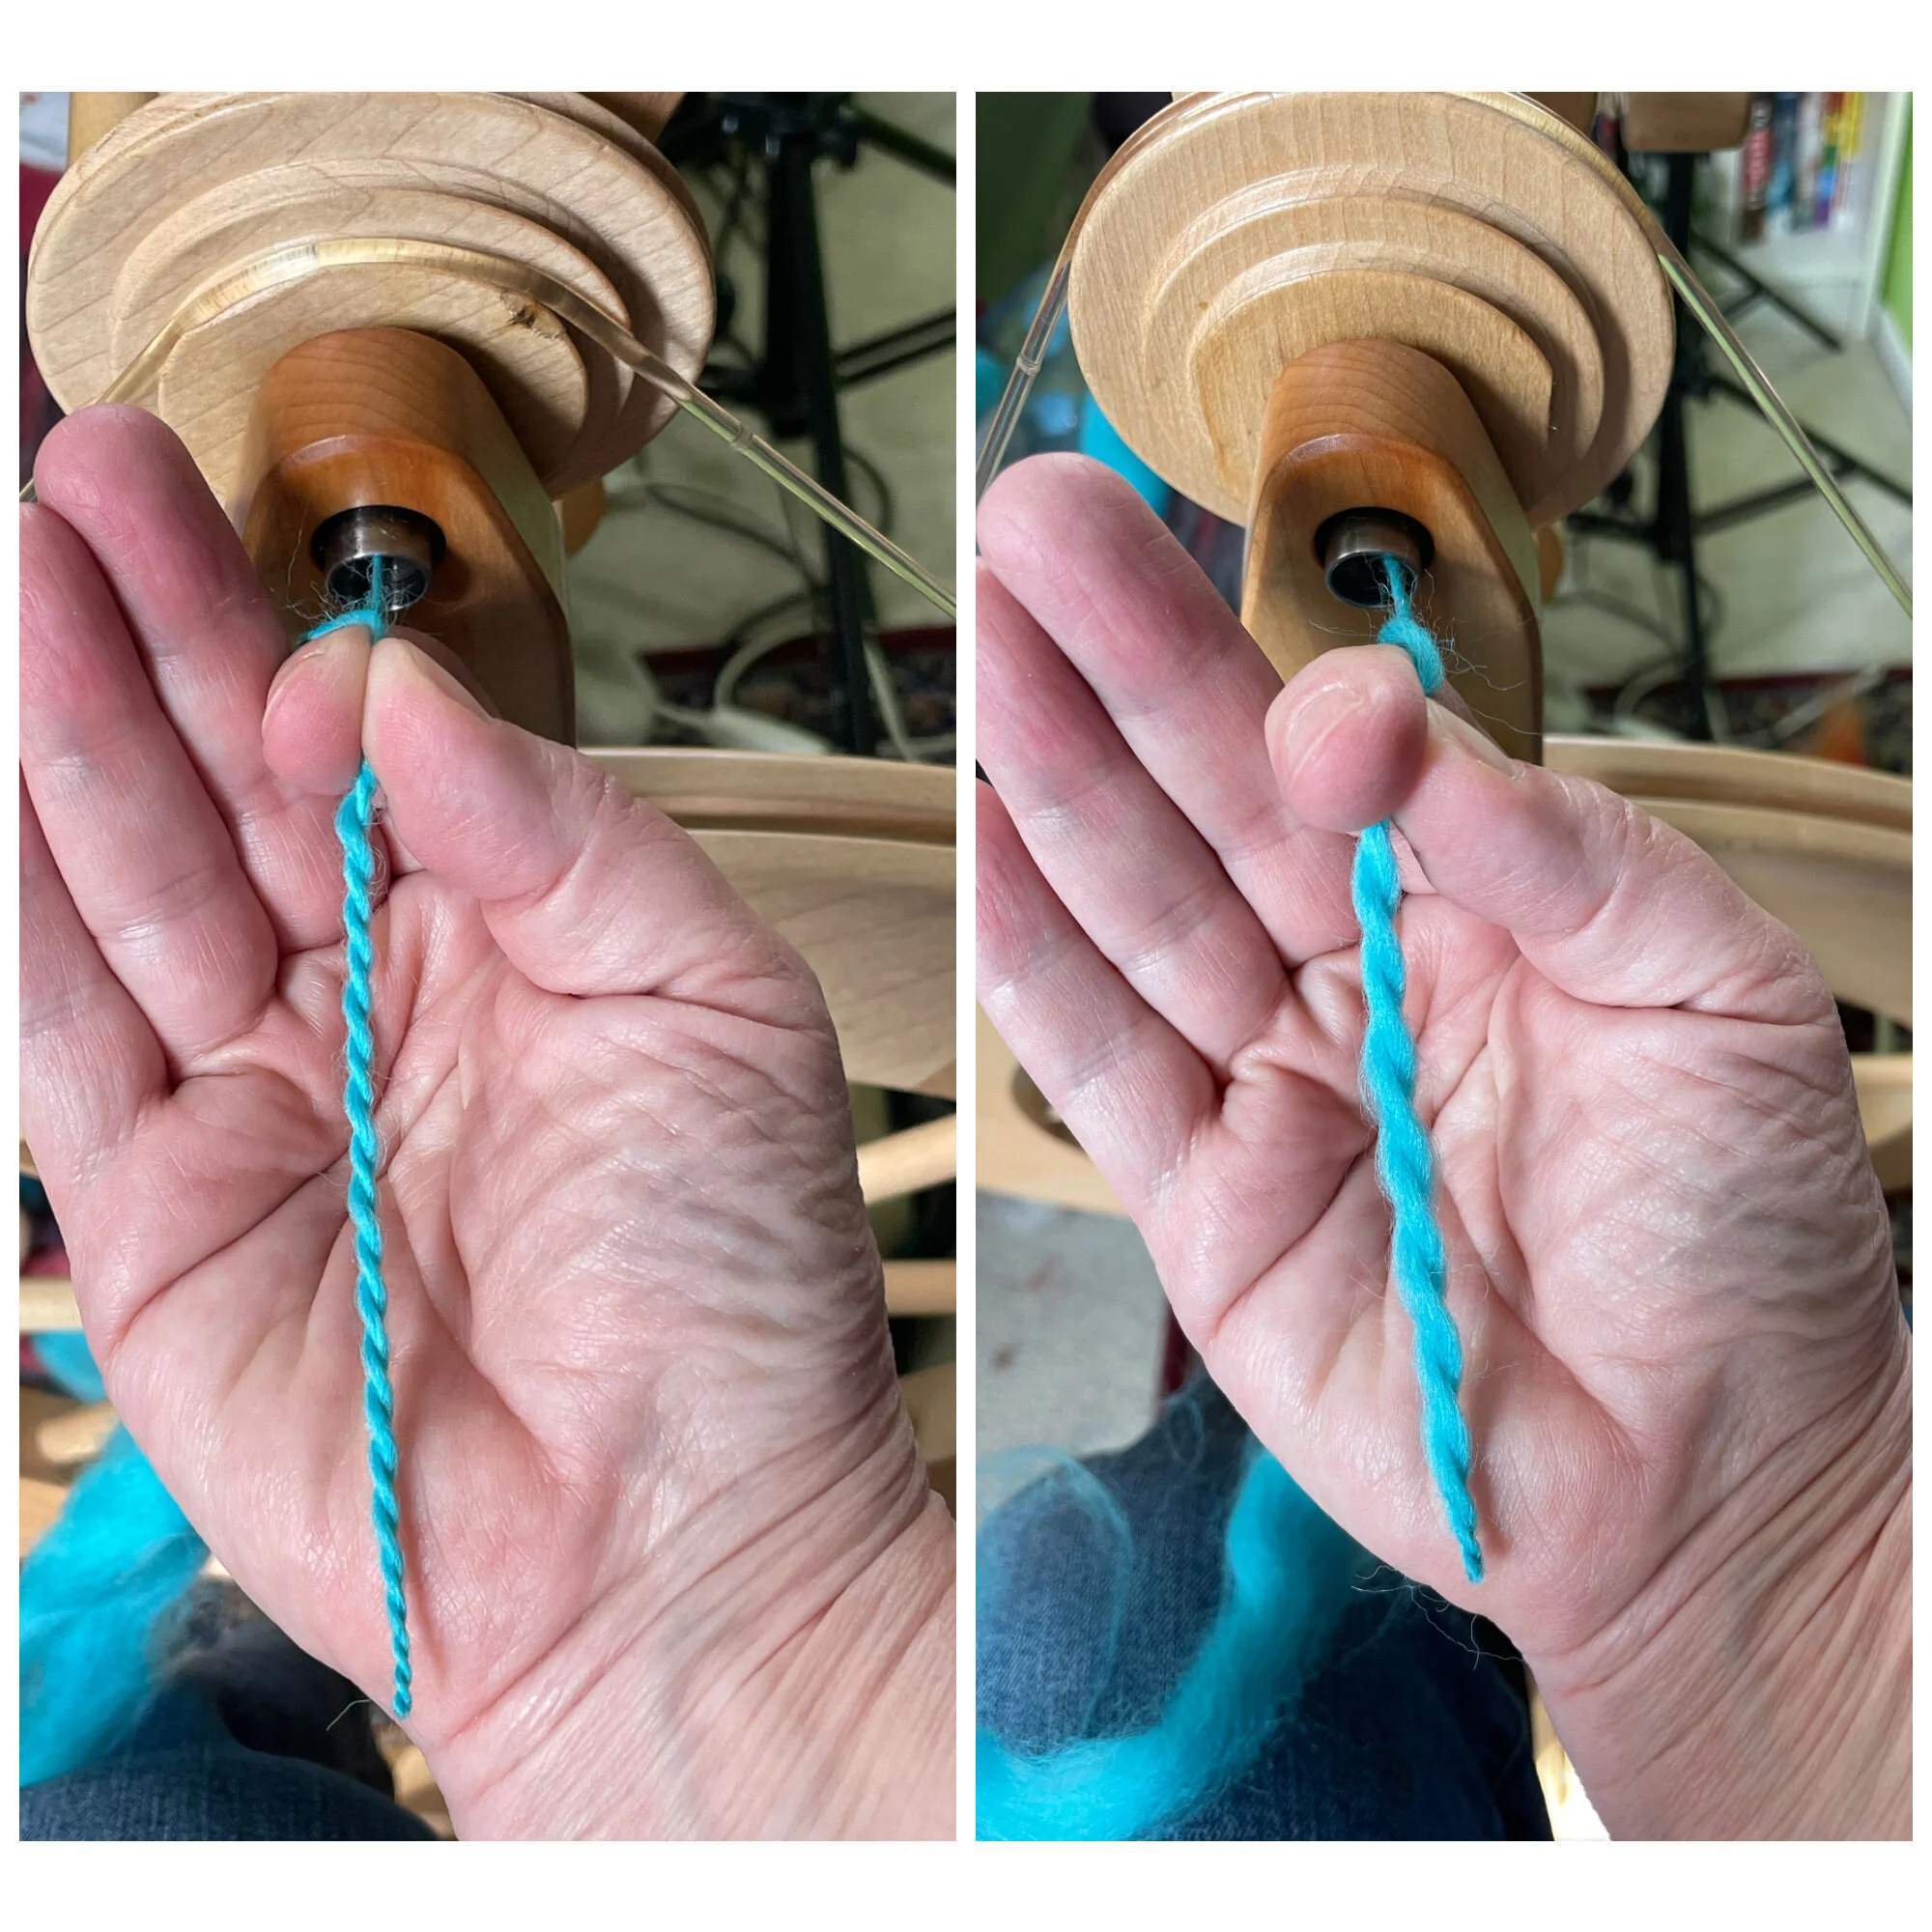
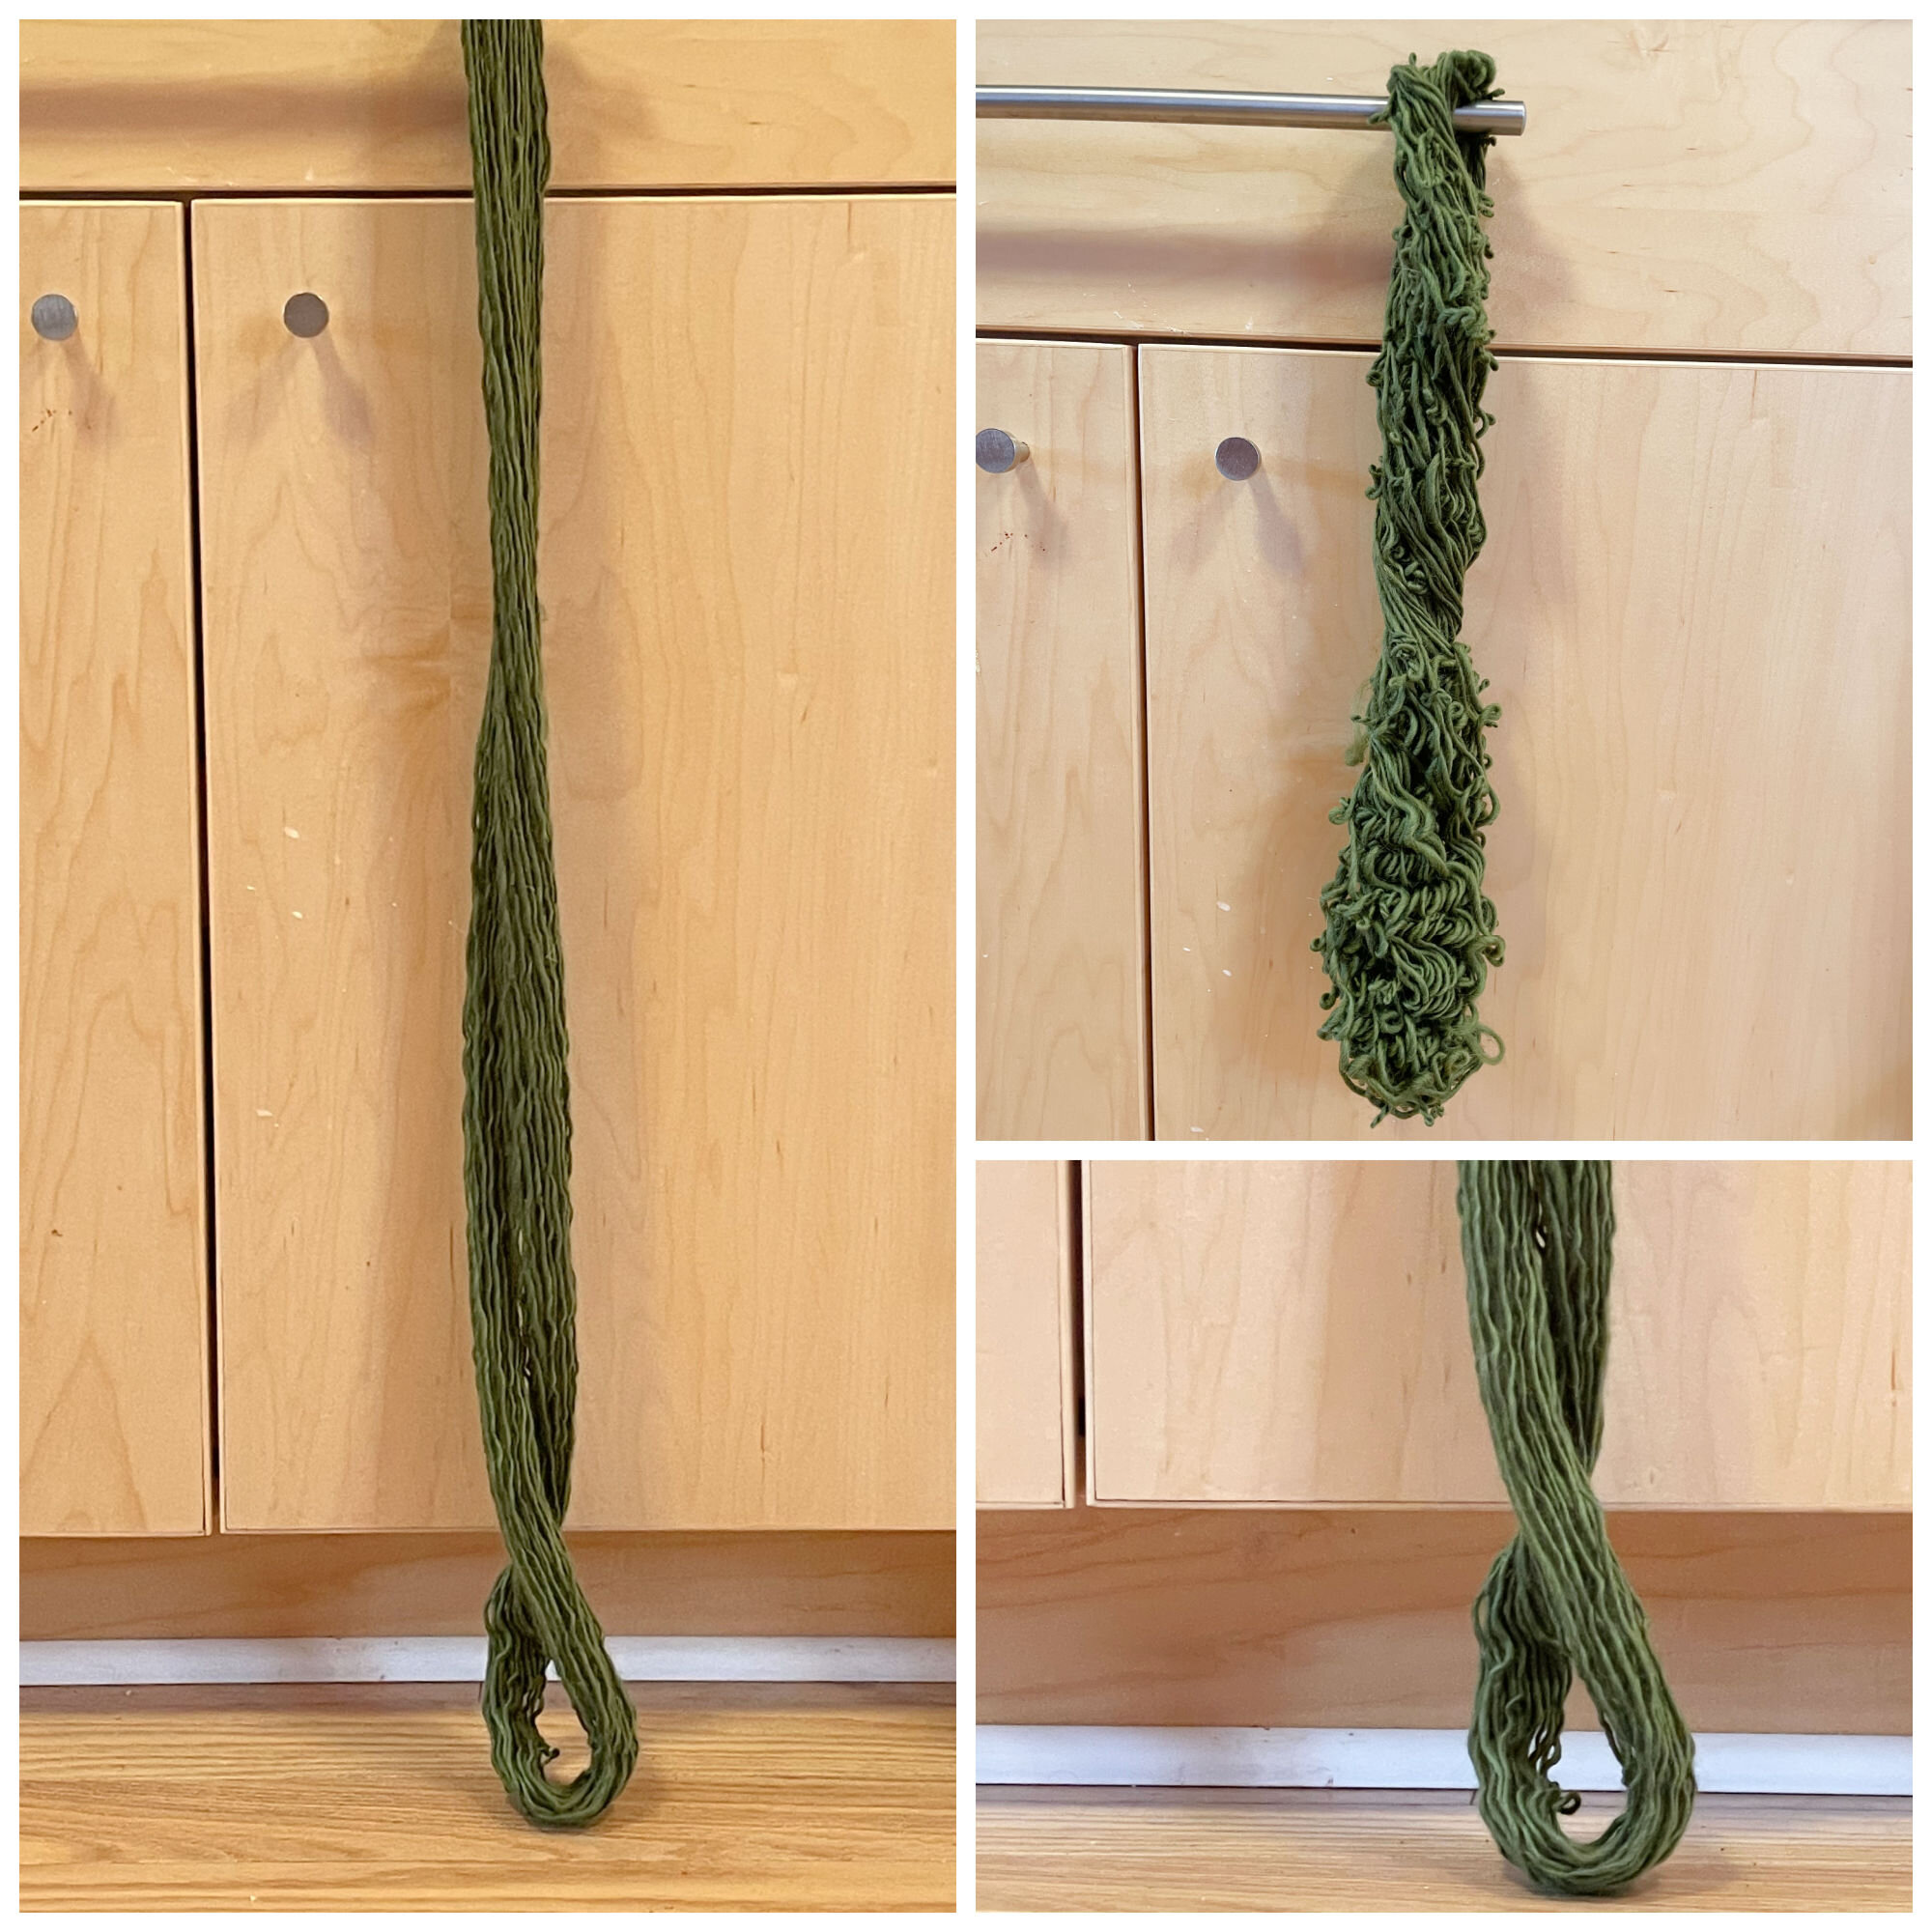
Of course, I'm spinning my own threads to stitch with. I have a stash of bombyx silk and a [Jeri Brock spindle][1] that I'm working with.

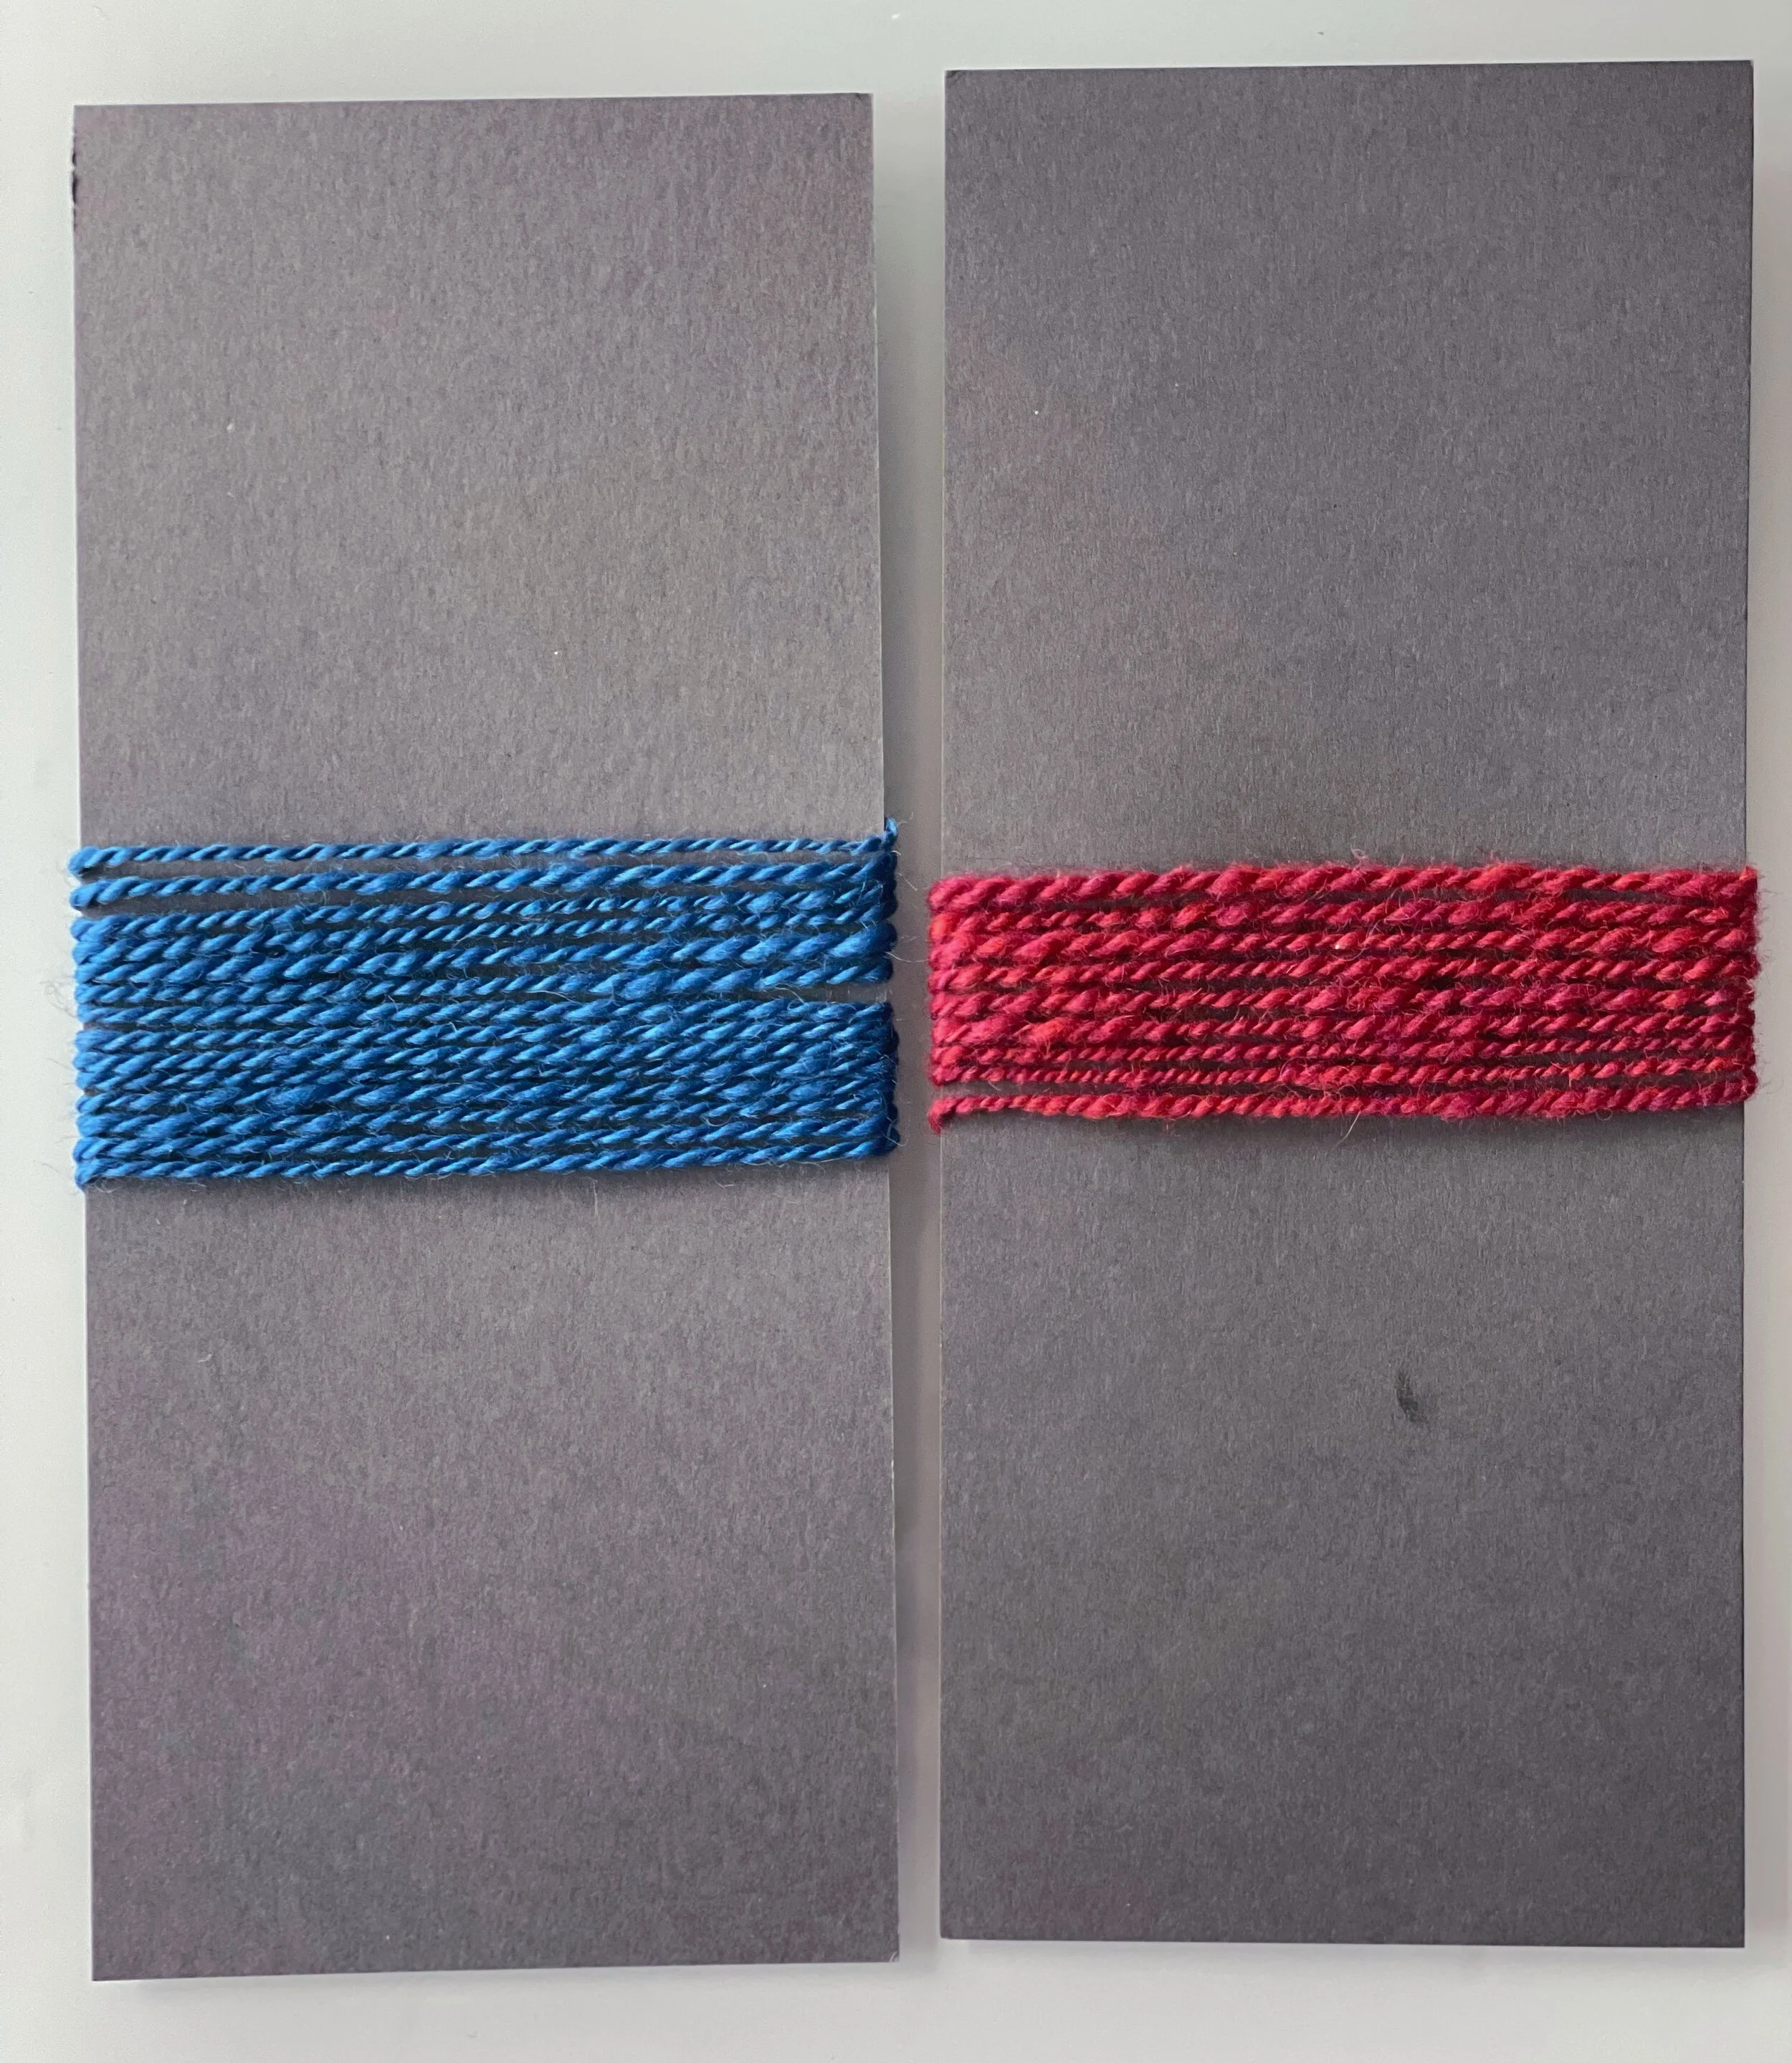
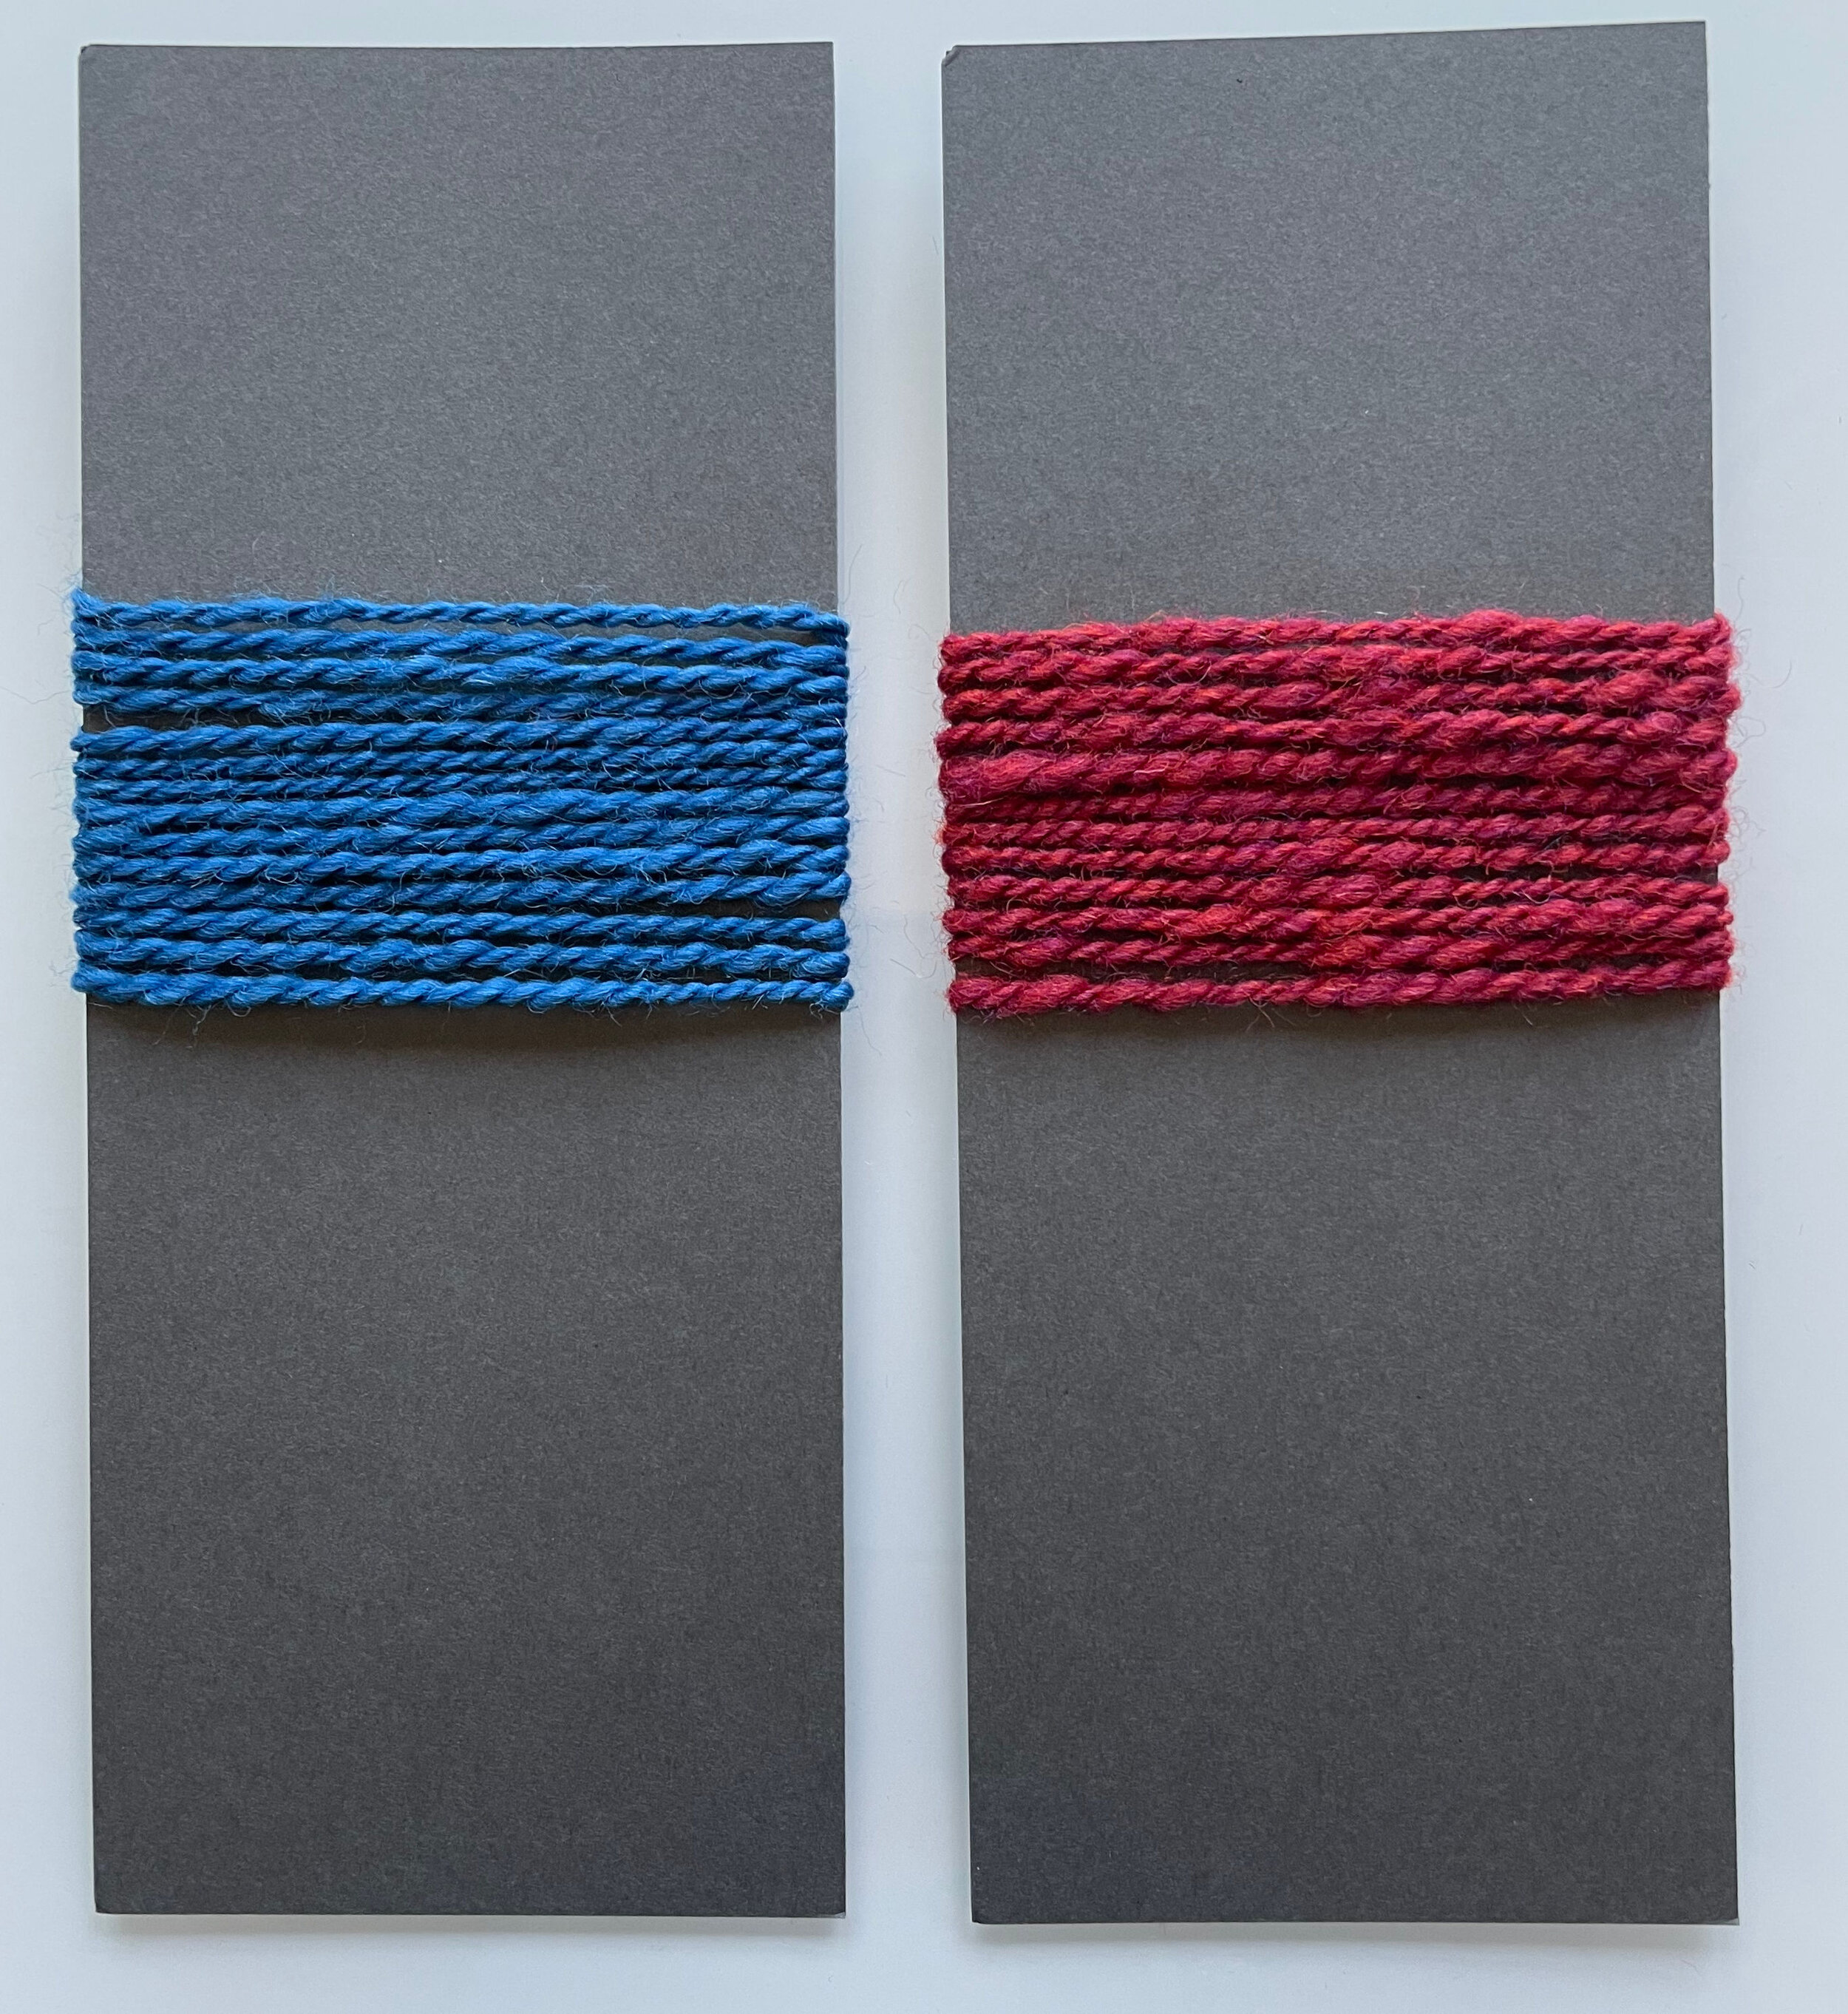
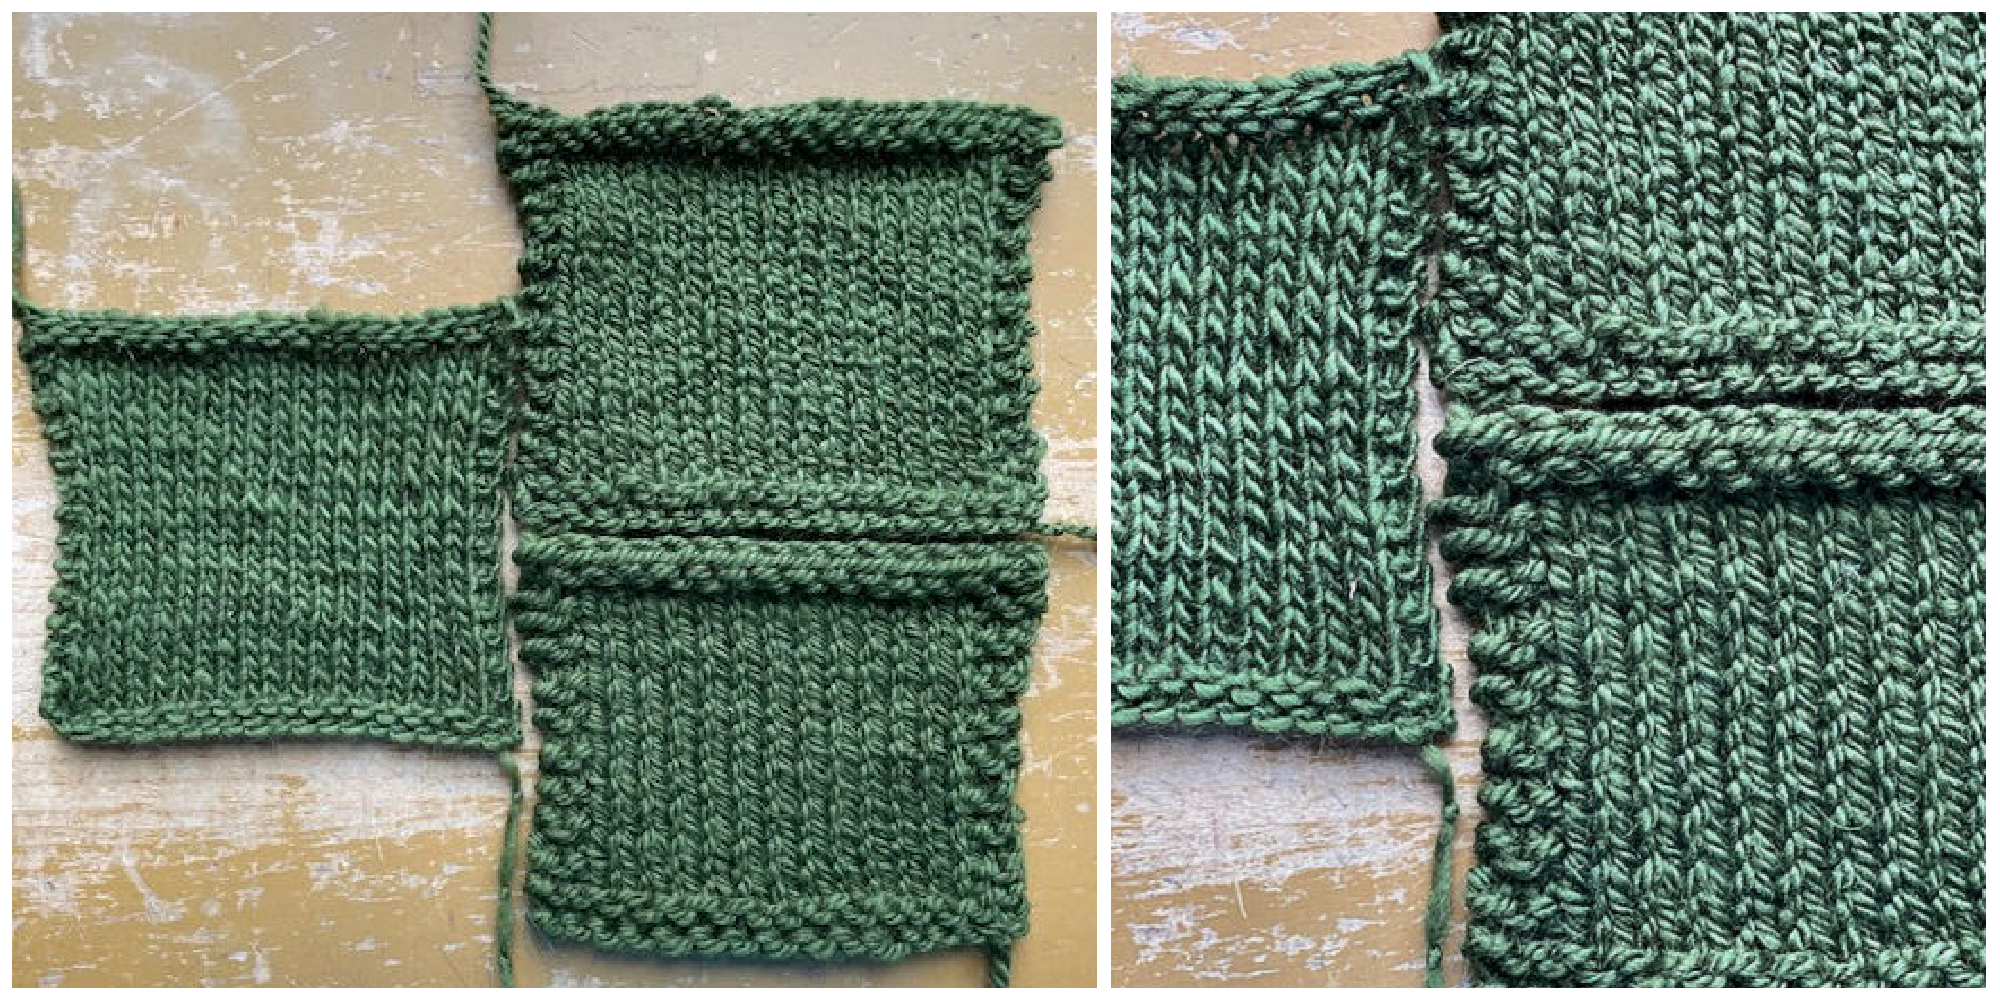
Have you seen the difference between woolen and worsted spun wool in stitching?

I'll also use the spools to store rubber bands instead of letting them wander loose in my spinning and knitting tool bags.

I may not buy more of these embroidery spools, but I will reuse the ones I have when they are empty.

Clearly I have taken a swan dive into the world of stitching. I know I'm not the only one. [1]: https://jeribrockwoodworks.com

Sample Along: Spinning from the Fold, Worsted Draft

fold worsted yarn.jpg

Spinning from the fold is more a method of changing the preparation than a way of drafting, but it is a clever, clever skill to have in your toolkit.

I spin from the fold when I want to make a worsted preparation airier, and mostly, when I feel like I need a little more control over slippery fibers or blends.

For me it’s silk blends, or those irresistible fine wool/ silk/ bamboo blends.

Fold step by step.jpg


To spin form the fold, pull a couple staple lengths (ish) from your fiber, and fold it over your index finger.

Less is more when spinning from the fold, make sure that your fiber is not too wide.

Hold the ends of the fiber lightly in your palm, try not to grip.

Tease the fiber out and over the tip of your index finger.

Point your finger at your orifice and start spinning. Pulling fiber from the tip of your finger to draft.

I find a forward drafting direction when I spin with a worsted draft from the fold works best for me.

fold pointed at camera.jpeg

If you are spinning combed top from the fold, it makes it into a less woolen preparation.

A worsted, combed preparation is carefully aligned with all the fibers coming from one direction when you draft. It encourages smooth, dense yarn with little air in it.

Folding the fibers, changes that.

The fibers are now coming from different directions, with air between them.

Even if you draft worsted, the result will still be an airier, less dense yarn.


pointing vert and side.jpg

Spinning from the fold is great for controlling fiber blends that are slippery, have many different staple lengths, or any fiber or blend you feel is ‘getting away’ from you.

Just using a smaller amount of fiber makes me feel in better control of slipperies. Add to that the bend in the fiber, which slows down the draft, plus holding on to the ends of the fiber, and I feel like I am the boss of all those lovely fibers.

A couple of things about spinning from the fold that you don’t have to do:

Keep your hand vertical in relation to the orifice. I tend tip my hand horizontally, it feels better on my wrist.

Keep your finger in the fold. You can just fold the fiber in half, no finger needed.


If your folded fibers get less than tidy, you can stop and reposition your fiber, refold the fibers that are left. I almost always have a bit of fiber, sometimes a clump left over in my hand. If I am spinning with a worsted draft, I put that fiber in my blending bag to use for something else. It tends stay clumpy when spun worsted.

Here’s a quicky video of me spinning from the fold.

Sample Along: Worsted Draft

SAL WW fiber collage.jpg

Are you ready to draft? I'm going to be using these two fiber preparations for all of my drafting samples.

Both of them are commercially prepped, the blue is combed Corriedale top, the red is carded Corriedale roving.

worsted draft open skein both.jpg

For me the difference between a worsted or woolen draft is simply how the twist gets into the fiber.

Do you guide it to the fiber (worsted drafting), or do you let it zip into the fiber on it's own (woolen drafting)?

worsted draft card both.jpg

·     A worsted drafted yarn, especially if you use a worsted (combed) preparation has these characteristics:

·      Smooth Strong

·      Consistent

·      Stands up to abrasion, which means less pilling

·      Not as warm because it contains less air

·      Dense

·      Good drape

·      Shiny, depending on breed or blend

·      Crisp stitch definition

If you use a woolen (carded) preparation your yarn will have these characteristics., sort of. You can see what I mean in the finished yarn.

To draft worsted, you don’t want any twist getting to the fiber unless you bring it there. Squeeze your fiber between your fingers enough to keep the twist from getting through, draft (either forward or backwards), and slide your fingers down the fiber bringing the twist along, and smoothing the outside of the yarn.

Here’s a quick video I made, showing worsted drafting close up. I don’t usually work this close to the orifice.

You can see in the finished yarns below that while they are similar in size, worsted drafting doesn’t look the same on both types of preparations. The combed (worsted) preparation has all of the characteristics listed above, but the carded (woolen) preparation doesn’t really. The woolen preparation with a worsted draft is not as consistent, smooth, or dense.

SAL WW cards close collage.jpg

What will you make out of your worsted drafted yarn?

Plying Sample Along: Let's Look at Swatches!

L to R: Singles, 2-ply, and 3ply

L to R: Singles, 2-ply, and 3ply

I knit all three of my yarns into three swatches, stockinette, lace, and a cable. I used the same needle size for each yarn, but not the same needle size accross the three yarns. I did not spin to match finished yarn sizes. Someone always asks.

Looking at the swatches above where they are grouped by yarn, not stitch pattern, they look similar. Probably even similar enough to be interchangable. When I group my swatches by stitch pattern, something else happens I see variations that can make a difference to a project.

I’m sure you’ve heard and read that if you look at a yarn from the end with the aid of magnification, the different plies have different shapes and behave differently. Singles are round-ish, and soft. 2-ply yarns are oval shaped and the plies tend to open, roll apart, and flatten. 3-ply yarns are round, push together and up.

L to R: Singles, top - 2-ply, and bottom -3ply

L to R: Singles, top - 2-ply, and bottom -3ply

My singles stockinette swatch (left), has pretty good stitch definition, I can easily count stitches, and they look soft not crisp. To me the 2-ply (top right) and 3-ply (bottom right) look very different. The surface of the 2-ply is very visually busy, and the individual stitches are harder to see, that’s those plies pushing apart. The 3-ply stitches have crisp edges and the stitches and rows line up in straight lines. I like texture and visual motion in my knitting and this explains to me why I’m always reaching for a 2-ply yarn for stockinette projects.

L to R: Singles, top - 2-ply, and bottom -3ply

L to R: Singles, top - 2-ply, and bottom -3ply

My singles lace swatch (left), shows the lace pattern evenly, and holds a block well. I always like how light lace knit from singles is too. The 2-ply (top right) and 3-ply (bottom right) have different qualities. They are not bad or good, I just choose what I like for a particular project.

The rolling away quality that made the 2-ply stockinette swatch look busy, keeps lace patterns open, and helps the stitch pattern look balanced. The crispness along with rolling together, and pushing up of a 3-ply yarn makes lace look like it could be a alternate stitch pattern. It’s not, all three swatches are English Mesh.

When I look at lace knit from a 3-ply yarn, my eye goes right to the decreases, they really stack up and the holes are rolling closed.. The lace pattern is not as uniform as the 2-ply swatch. To my eye it looks like a more complex stitch pattern, like a combination of lace and cable that I’ve seen in Japanese stitch pattern books.

L to R: Singles, top - 2-ply, and bottom -3ply

L to R: Singles, top - 2-ply, and bottom -3ply

Texture and cable patterns are all about lift and clear edges. My singles cable swatch (left) doesn’t have much lift and the edges are very soft, the cable is more of a surface pattern. The 2-ply (top right) gets a little higher, but notice the blurriness of stitches in the stockinette part of the cable, that makes it look kind of soft.

The 3-ply swatch (bottom right) is the cable champion here. The stitches have edges, the cable looks carved, and really stands up off of the background.

I hope you found some interesting things in your swatches, and I hope this Sample Along helped to shine a light on some knitting mysteries too.

We’ll be doing another Sample Along, as soon as my Patrons choose a new topic!

Plying Sample Along: Spinning Singles to Stay Singles

spinning braids singles.jpg

Did you get your 2-ply and 3-ply yarns made? Isn't it facinating how different they look just as yarn?

Now it's time to spin our singles that will stay singles. If you've never spun singles that will stay singles it can be tricky. Like many things in spinning the concept is easy, but it takes practice.

The key thing is to spin a yarn with less twist. When we spin a single to ply, we are adding extra twist. When we ply that yarn in the opposite direction that extra twist is removed.

green ply and singles twist.jpeg

The practice comes in spinning and recognizing what that 'less twist' is. Because I am more of a visual spinner I use a plyback sample, even though I won't be plying. I want my plyback smaple to look like a 2-ply that I wouldn't really want to use, like it wouldn't hold up well for a project.

If you are a measuring spinner, try spinning with about 30% less twist when you measure the twist angle.

Here are two plyback samples, the one on the left is the one I used for for my singles to stay singles, the one on the right is for my singles that were plied.

When I get a plyback sample with the twist I think will work, I give the single a tug between my hands to make sure it has enough twist to not drift apart.

blue ply twist singles twist collage.jpg

The easiest way to spin with less twist is to change your wheel setting. Spin your singles to stay singles yarn on a bigger whorl than you would spin your singles to ply.

You can see the difference in my two blue yarns, moving from my Lendrum’s smallest whorl to the biggest.

If changing whorl size isn’t enough, or you don’t have a bigger whorl, you can treadle slower. Increasing your uptake just a little can help too, it gets your yarn onto the bobbin faster, before it can accumulate more twist.

pre post finishing singles collage.jpg

When you take your singles that will stay singles off of your niddy noddy and it curls up all over the place - do not despair! A good finish is important for singles. The upper right photo is my singles fresh off of my niddy - sproing!

Here is my green yarn after a regular ‘soak, roll in a towel, snap, and hang’ finish. Amazing isn’t it? Even though there is a twist at the bottom it will not bias when I knit with it. Whacking is another good finish for singles.

The process of whacking wet yarn causes the yarn to draw in a little, stabilizing it. Whacking does disturb the surface of a yarn, so if you want a yarn with a smooth surface you may not want to whack.

three yarns end edit.jpg

Now we have our three yarns, our next step is to knit swatches and marvel at the differences.

Is It Wrong to Love an Oil Pen?

garret wade pinpoint oiler.jpg

Garrett Wade Pinpoint Precision Oiler. Photo from the Garrett Wade website.

I have long had an adversarial relationship with oil pens for my spinning wheels. I spin a lot so I oil my wheels a lot.

Some pens/oilers release too much oil at the slightest provocation, which then drips or sprays everywhere when my flyer turns. The ones I like, the small tubes that are really for clocks, are made of plastic and usually crack and ooze in my spinning bag.

I have been hunting for years for a great oiler. I finally found one in the [Garrett Wade Tool Catalog][1]. They have something called a [Pinpoint Precesion Oiler][2], and it is my new favorite tool.

There is a button to click at the top, that triggers one drop of oil at the tip. I have not over oiled my wheel since I started using this oiler. It's made of aliuminum and has rubber gaskets that really seal. I have had no leaks and so far I haven't crushed it.

I got it for Christmas and have been using it exclusively since then, and just ordered two more, to spread accross my spinning spots.

It's not cheap, at $16.60 it's close to double the price of the pen oilers. But to keep my wheels oiled, with less mess, it's worth it to me.

gw oil pen drop.jpg

Because I know someone will ask, I use 30W motor oil on my wheels.

Be careful when you go to the Garrett Wade website, there are so many great and interesting tools. It can be dangerous to your bank account.

How tempting? I made myself buy my oilers first, then go back to peruse every section. 1: https://garrettwade.com/ [2]: https://garrettwade.com/product/pinpoint-precision-oiler

Plying Sample Along: Spinning Singles to Ply

schacht bobbin and storage spool.jpg

How will you spin your singles?

There are two ways you can go, and only you know which one will work best with how you learn and study.

1) Spin all of your singles at once to the same size, then divide onto storage bobbins and ply. Pro: All singles are the same, size and twist. Con: Yarns and swatchesare different sizes. This is disconcerting to some spinners. I have seen eye twitching when these spinners examine my samples.

2) Spin singles to match finished size of yarn – a 2-ply to end as a DK, a 3-ply to end as a DK. Pro: Finished yarns and swatches same size. Con: Singles are different are different sizes and may have different twists. This makes some other spinners twitchy.

I do singles all at once and then divide onto storage bobbins. Because, I won’t lie to you, I’m lazy. But I also want my yarns to be the most the same at their core, same fiber, same draft, and same singles. The differing size of finished yarns and swatches doesn’t bother me.

pile of random white storage bobbins sm.jpg

I know that to spin finer singles to make my 3-ply yarn match the size of my 2-ply yarn, would mean more twist in my singles, and for me that changes an extra element in my experiment.

Please don’t ask me to tell you what size your singles need to be to get a yarn a particular finished size. That’s a whole different experiment, because it depends on all of the usual spinning suspects used to build a yarn. For example, think of two different drafting styles – airy woolen singles will need to be a different size than dense worsted singles to make a DK yarn.

This is why there’s never a chart that says to get a 2-ply yarn that is 14 WPI, your singles need to be X WPI, because it depends on all the things. This is something I want to dig into later, it's facinating. I don't get out much.

So now choose your path and spin your singles for your 2-ply and 3-ply yarns.

Next time, I’ll give you some tips on plying consistently.

I have started a spinning Patreon! I’m keeping it pretty simple with three levels, that include more information on our Sample Alongs, peeks behind the scenes on my ongoing work, current fiber obsessions, and monthly, live Zoom get togethers.

Many spinners have asked for more and ongoing spinning information after they take a class or read one of my articles or posts, and I think Patreon is a great way to get you the information you want.

Thank you for your support!

Plying Sample Along: The Beginning

ply yarns KS13.jpg

Plying for knitting is one of my favorite things to think about and to plan for projects.

My plying samples knit into different stitch patterns are the samples that students in my classes are most facinated by. I see so many lighbulbs go off in thir spinning thnking as they compare the samples.

I made my original samples in 2013 for my spinning column in Knitty and the process of making different plied yarns all at once, and then knitting them in the same stitch patterns forever changed how I thought about the effect of ply in knitting.

I want to remake my samples (they are looking a little tired) and I thought plying for knitting would be a great topic for our next Sample Along.

Are you ready to ply and knit?

We are going to make three yarns, and knit three swatches out of each yarn. We’ll make a 2-ply, a 3-ply, and a singles that will stay a singles. Each yarn will be knit into stockinette, cable and lace swatches.

IMG_0197.jpeg

You’ll need some natural or light colored dyed fiber. I will probably use 3-4 ounces, because I like to have yarn left over after I knit my swatches, and the yarn I spin is not particualry fine. Your fiber mileage will vary. My pile of current swatches weighs in at 2.25 ounces. They are spun from BFL top with a woolen draft, and range from DK to heavy worsted.

Use a fiber you love to spin, and spin your default yarn. The focus of this Sample Along is learning about what your plies do to your knitting. Making and using a yarn for sampling that you make and use frequently will be most helpful to your future spinning and knitting. These samples can show you how your future yarns behave and look, where you might want to make changes, and will be great for planning projects.

Please use a light colored, natural, solid or semi solid fiber, you want to be able to see your plies and knitted stitches without a spotlight and a magnifying glass.

You need your regular spinning tools - a wheel or a spindle, extra bobbins, or storage bobbins, and a Lazy Kate. Make sure to grab your favorite office supplies to label skeins and swatches.

KS6cable.jpg

Gather your supplies and next week I will talk about two different ways to organize your spin.